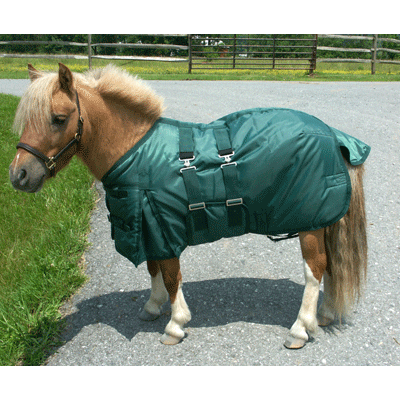
How to Make a Mini Horse Show Halter

Mini horses are a major attraction at horse shows, and contrary to what many might believe, these are not ponies, but in fact a breed of miniature horses. This makes them great pets for children – however, in order to make them more manageable, and keep them in check, it is essential to put a halter on your mini horse. While these can be found in a variety of pet and horse care stores, a halter can easily be made at home too, using nothing more than a strong rope.
Things Required:
– 30 inches long rope
– A source of fire
– Measuring tape
Instructions
-
1
To start, melt the ends of the rope over fire. A candle, stove, or lighter will work just fine. Once this is done, you will be ready to begin the elaborate process of knotting the rope up to form a halter.
-
2
Now, start forming all the knots. You will need to make a total of 5 knots in five strategic spots on the rope, so make sure you keep a measuring tape handy, so you know you are placing the knots exactly where they belong. Keep in mind that all five of these will need to be overhand knots.
-
3
First, start from one end of the rope, and tie the first knot – this will serve as the pole tie, and you will need to tie the knot 7 inches from the end. Then, proceed to tie the second knot four inches further from this – this will serve as the right side.
-
4
Now, tie the third knot – this will serve as the nose knot, and needs to be tied 10 inches further from the last knot. Once this is done, move on to the fourth knot, which will be the throat latch knot – this needs to be tied 6 1/2 inches further from the last one.
-
5
Finally, tie the fifth and final knot – this is the loop, and will need to be tied 25 inches further. After all the knots are in place, test them to make sure they are firm, secure, and tight enough. Once this is done, it is time to start shaping the halter.
-
6
To begin, make a double rope over the nose by tying the left nose knot into the right nose knot. Then, proceed to tie into the throat latch knot, and then into the right ear knot. Finish by tying a knot at the chin. The halter is now complete. Proceed to test all the knots before you put it on the horse – if it falls apart, this means the knots have not been tied correctly, and you will need to start over.


