How to Make a Nail Polish Rack
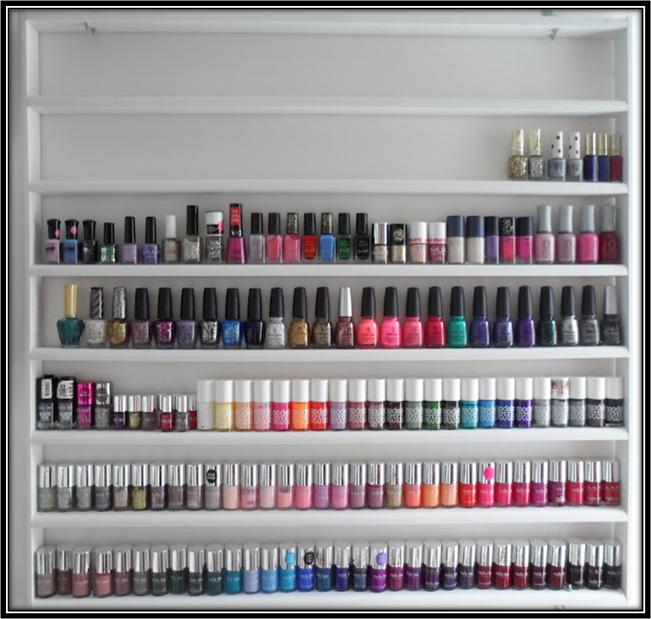
Where do you keep your nail polishes? In a Tupperware container, drawer, or a container under your sink? Or, are they scattered all around your room? Bad, bad ladies! You should store them in an organized manner in order to show off your cleanliness to your family members and make everyone jealous! One simple rack that you probably don’t hear a lot about is a nail polish rack, which is simple to manufacture and looks good on the corner of your dressing room. This magical shelf helps in storing your nail polishes in order and to find them easily when needed. You do not need to spend dollars in buying a ready-made nail polish rack as you can make it yourself within a limited budget.
Things you will need to make a nail polish rack:
– Wood for the sides and shelves.
– Decorative trim or plain wood- to cover back side of the rack
– Medium Screws
– Dry Wall Anchors- that support up to 75 lbs
– Wood Glue
– Nail filler- to fill in the screw holes
– Sand paper – to smooth the wood before painting
– Paint or glitter spray paint
– Level
– Tape measure
– Hand saw
– Hammer
– Hanging hooks
– Paint brush
Instructions
-
1
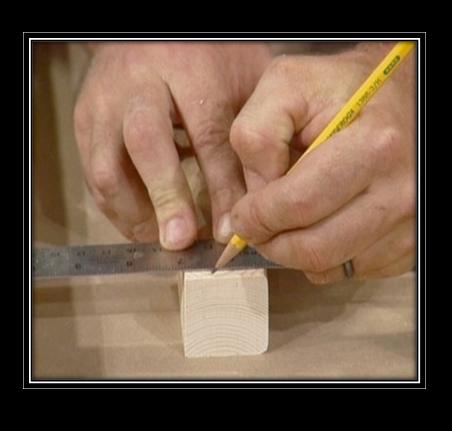
First of all you have to measure for the sides and shelves of the nail polish rack and cut accordingly. Use measuring tape to take the measurements and a handsaw to cut the wood. 1" by 2" measurement is a standard one for the sides of the rack and 1" width by 2" will be enough to let your nail polish bottles fit easily.
-
2
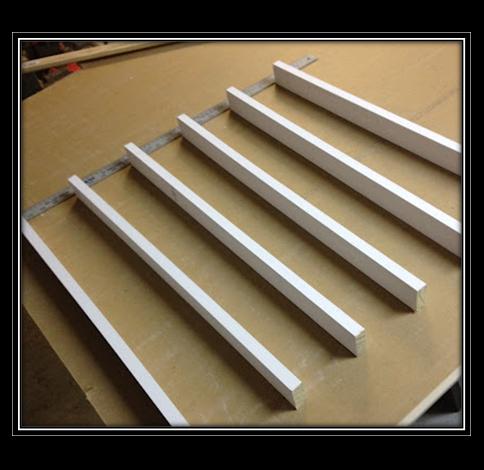
Now, orderly lay out the wood on an even surface. Grab the measuring tape and gauge out the distance apart in order to make sure that the shelves of your nail polish rack are equally spaced.
-
3
Grab the bottle of the wood glue and attach the wood onto both left and right sides of the nail polish rack. Gluing the woods of the rack helps in building a temporary structure.
Note: Do not rush and make sure to screw one shelf at a time and then move to the other one.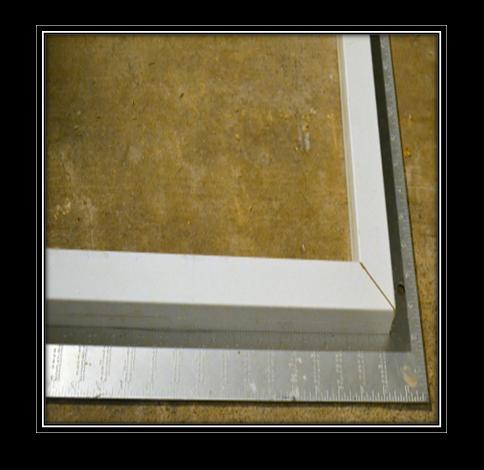
-
4
Move on and screw the glued areas of the nail polish rack with a hammer.
Note: Use medium steel screws to put together the rack’s woods. However, you can replace the screws with the drywall anchors.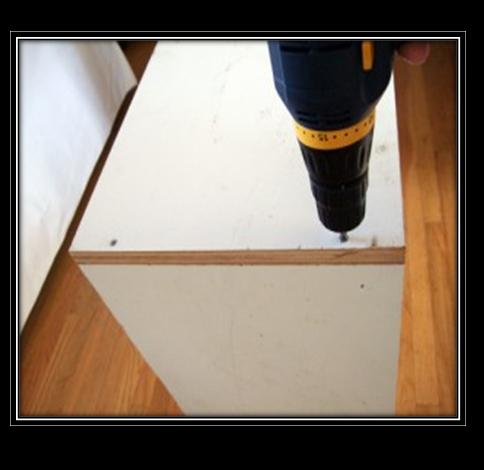
-
5
Now, screw plain wood to the back of the shelves in order to prevent the nail polish bottles from falling over.
Note: You can replace the plain wood with the decorative trim, which is easily available in your nearest market.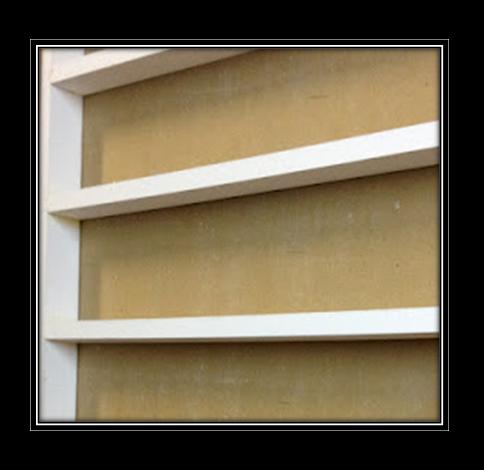
-
6
Pour some nail fillers in the screws’ holes to hide them for a neat look. Now, chafe the sand paper all over the rack in order to give the wood a smooth and nice finishing touch before painting it.
Note: Rub the sandpaper in a to and forth motion.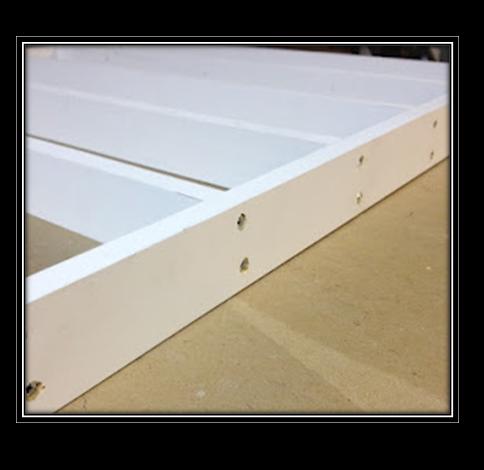
-
7
Pick a medium paint brush, dip it into any of your much loved wood paint and coat your nail polish rack. Wait for a few hours until the paint on the rack dries completely.
Note: Make sure to wear gloves while painting the rack.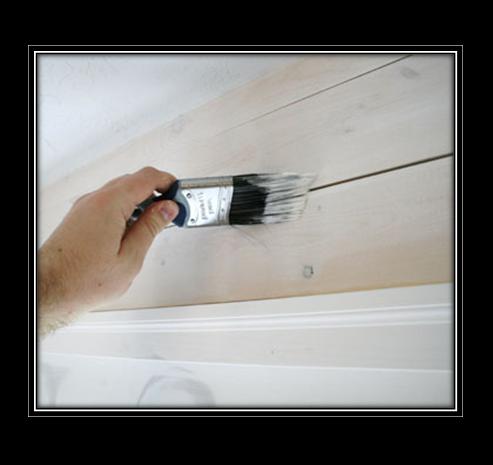
-
8
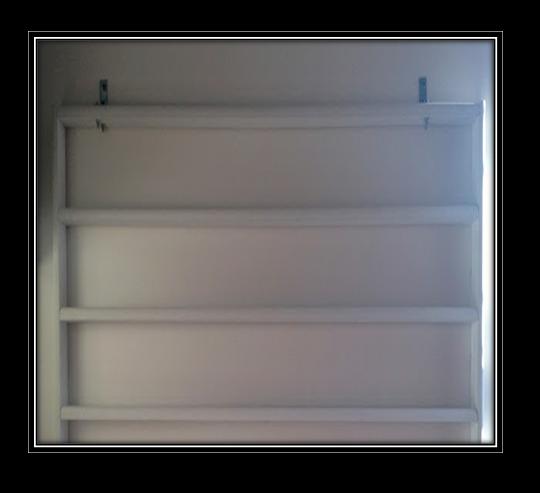
Now, screw two large hanging hooks to the top corners of your Nail Polish Rack.
-
9
Get someone’s help to hang your nail polish rack on the wall with drywall anchors. Make sure that the drywall anchors can support up to 75 lbs.
-
10
Call over your family members and friends and blow your own horn of how organized you are.
