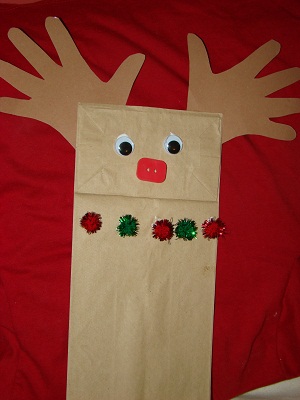
How to Make a Paper Bag Hand Puppet

In this day and age of high tech gadgets and realistic video games, it is common for kids to get bored very quickly. Making a paper bag hand puppet is a great way to entertain your kids and keep them busy for hours. It is an easy task and takes very little time to complete. Multiple paper bag hand puppets can be used for putting on a proper puppet show at home.
Things Required:
– Paper bags
– Crayons, markers, coloured pencils, paint, etc.
– Glue
– Yarn
– Googly eyes or buttons
– Fabric scraps
– Paper
Instructions
-
1
Lay the paper bag you will be using to make the hand puppet on a flat surface in such a way that you can see its flap and the opening faces towards you. Flatten out any creases in the paper bag with your hands.
-
2
On the flap of the paper bag, draw the puppet’s facial features using crayons, markers, coloured pencils or paint. To simulate the puppet’s eyes, use glue to affix googly eyes or buttons onto the paper bag. You can also just draw the eyes if desired.
-
3
Draw the puppet’s tongue below the flap of the paper bag. You will need to lift the flap up for this purpose. Make sure the length of the tongue is in proportion to the overall puppet.
-
4
Bring the flap back to its original location and right beneath the nose, draw an upper and lower lip. Try to keep the colour of the lips as natural as possible for an authentic look.
-
5
To simulate the puppet’s hair, use pieces of yarn cut to desired length. Glue the yarn pieces on to the top edge of the flap of the paper bag. It is a good idea to take the length of the paper bag into account in order to decide the length of the hair.
-
6
Place your dominant hand into the paper bag hand puppet. You will need to place your fingers in the flap’s bag and move them up and down. This will make the puppet look as if it is talking. If desired, you can put a similar paper bag puppet onto the other hand.


