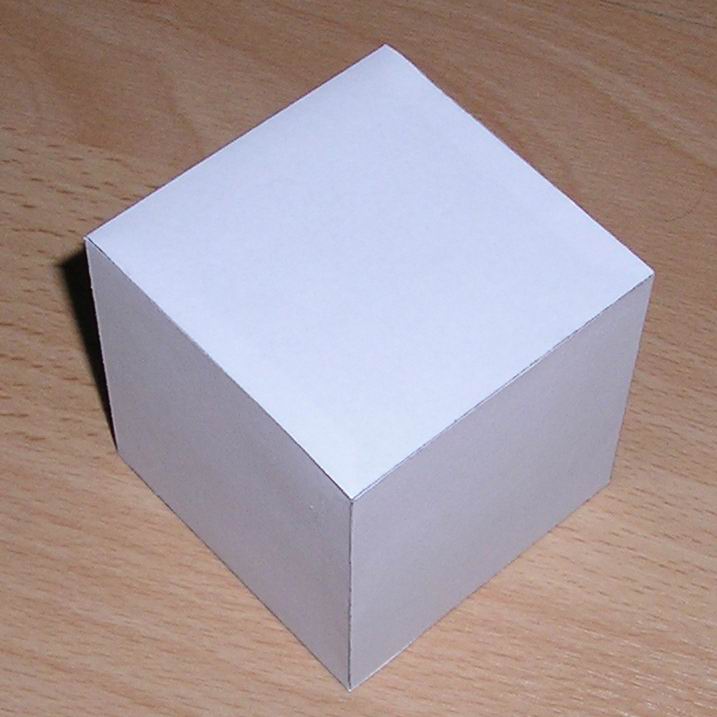
How to Make a Paper Cube

Making a paper cube is a fun filled activity for adults and children alike. It is a safe way to ensure that you help the children learn how to do something new, while the final product is something which they can actually use. On the other hand, adults can use it to store items like rings, keys and other small things which they tend to lose every now and then. What really makes the paper cube stand out, is the fact that it is hundred percent customisable, allowing you do anything that you want with its physical appearance.
Things Required:
– Paper
– Glue or tape
– Pens and rulers
– Scissors
– Printer ( In some cases)
Instructions
-
1
Get your hands on a piece of paper, keep in mind that the bigger the size of the paper, bigger will be the cube.
-
2
Use your scale and pen and go on and draw a long rectangle in the centre of the piece of paper. Once you have drawn this rectangle, divide it into four equal parts. Be precise when doing this, since it is essential to your process.
-
3
Now you need to draw a square to the right side of the second square from the top. This square should be attached to the second square from the top, and should be of the same size as the other squares, which you drew inside the rectangle.
Once you have drawn the square to the right side of the second square from the top, draw one to the left as well.
Alternatively, you can draw this figure on your computer using a decent software and then print it out on the piece of paper. -
4
After you have drawn the six squares on the page, irrelevant of whether you have printed them or have drawn them out, go on and start cutting them out. Be careful not to go inside the lines, and make sure you don't go too wide of the lines that you have drawn.
-
5
After it has been cut out, go on and start folding the piece of paper inwards along the lines which you have drawn.
-
6
Align all the folds on the page. The square on the bottom should be parallel or directly across from the square which was originally in the middle of your drawing/ print out.
-
7
In order to ensure that the cube holds, you may use tape to keep it together. If you want to use glue, put a few drops at each joint, and let it dry out before you move on to a different joint.
-
8
Check if the cube is sturdy or if it needs more tape/ glue. If it does, apply it appropriately; otherwise you are done making your cube.

