How to Make a Paper Gun Pistol

A gun is something that every child dreams of using, this is because they aren’t the smartest of people, and they aren’t quite sure as to what they really want to do in life.
However, every child ends up going out and buying some form of toy gun, just so that they can experience what it feels like to own one.
However, a safer alternative to letting the children get a toy gun, is to make your very own gun at home. Amazingly this can be done by simply using nothing but paper.
Paper guns are possibly the safest type of guns to use, and can be used by any child without any supervision.
Instructions
-
1
Get a piece of decent paper, that is made with good quality and looks like it might be able to last a long time.
Now fold this piece of paper in a way, so that the bottom end goes on and meets the top. Now fold it two more times, so that you end up having a total of three folds in your paper.
In order to get the best results, you need to make the crease seem like it is very significant, so work on that area, and make sure that the crease is prominent.
Once you are done folding the paper into three folds, fold it once again from side to side. Just remember to get in a better crease though. -
2
Now make a ninety degree angle with the paper, but make sure you don’t rip it. You will also be folding down from the crease that you made in the first step.
Should you have done everything properly, the paper should now have taken the shape of the letter, L and should be looking like a gun to some extent or the other.
You may tape, or staple the angle on the paper, to ensure that it holds. -
3
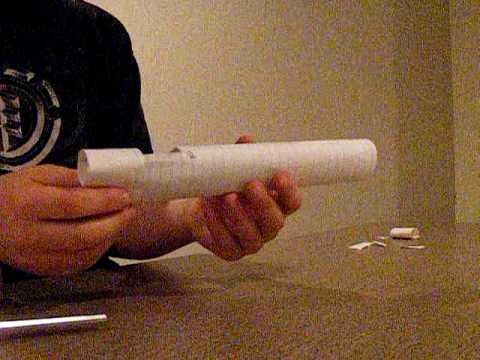
Now get another sheet of paper and fold it from the bottom to the top. Do this two more times. You are basically creating the barrel of the gun, so just use your imagination to some extent so that you don’t mess things up.
Once you are done making the barrel, go ahead and tape or staple it, so that it holds and doesn’t fall apart.
After having done this, slip this onto your L, which you created in the second part and you are good to go.

