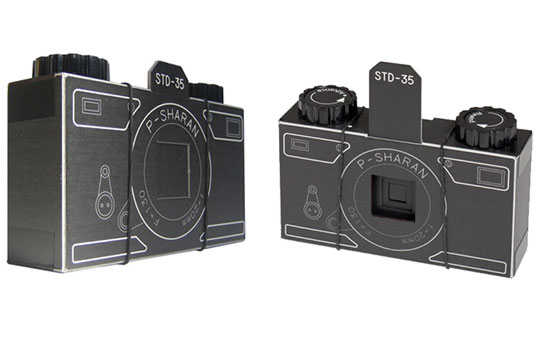
How to Make a Pinhole Camera with Film

Many cell phones are integrated with cameras and it hasn’t remained a difficult thing to capture your delightful memories in form of pictures. However, the fun of making your own camera at home and taking pictures with it cannot be compared with shooting from a 12 megapixel digital camera. The ancient technique of making a ‘pinhole’ camera is still effective today and you can indulge in a fun filled activity of taking photos from your homemade device.
Instructions
-
1
Making the Camera Body
You need a container to make the outer body of your pinhole camera. Take an oatmeal container and remove its lid before painting it black from outside. -
2
It will take almost 30 minutes before the paint dries. Paint black the interior of the oatmeal tin can and again set it aside to dry up.
-
3
Take a craft knife and carve a 1-by-1 inch square at the bottom of the painted can. Be careful not to cut your hand in the process!
-
4
You need to cover up the carved hole with a piece of aluminium foil with slightly greater size of the square cutting. You can use a tape to paste the aluminium foil on the opening firmly.
-
5
Make a small hole on the aluminium foil using a common pin. This hole will serve the purpose of the lens in your camera and all your pictures will be taken through this tiny opening!
-
6
Making the Camera Shutter
This is the most vital part of making your pinhole camera, as the shutter will determine the quality of pictures you can take from your camera. You need a cardboard and a cutter to incise thin strips for building up the shutter. Cut two strips of cardboard with 3 ½ by ¼ inch dimensions and two more strips with a 3 ½ by ½ inch size. Also cut another cardboard slice of 2 by ¼ inch. -
7
To begin making the shutter piece, you need to incise another piece of cardboard with 4 ½ by 1 ½ inch dimension. Place the longer pieces of cardboard on both sides of the shutter piece and cut a rectangular piece, measuring 1 inch vertically and 1.5 inch horizontally from one corner.
-
8
Use glue to fasten the narrower strips along the edges of the wider cardboard strips carefully.
-
9
Now place the shutter piece on the camera lens and trace around it with a marker. Brush glue on the shutter’s outline and attach cardboard on it firmly. Allow the glue to dry up.
-
10
Slide the shutter piece into the open track you have just made and paint the entire camera black.
-
11
Make sure to be in a completely dark room with when you add the photographic film to the pinhole camera. Dim red light can be allowed in the room or otherwise your entire photographic film will get wasted.
-
12
For taking pictures, open up the shutter and wait for five to eight second and then close the shutter. Take the camera in the dark room to take out the film and cover it up with multiple layers of aluminium foil before taking it for developing process.


