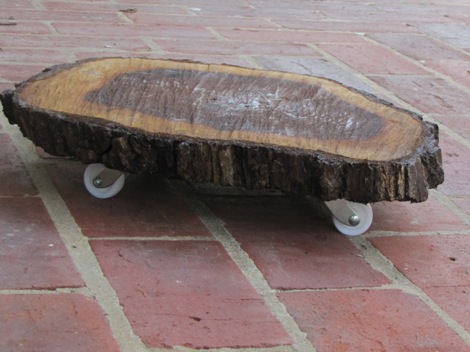
How to Make a Plant Dolly

Huge and heavy plants especially those made of old whisky barrels looks great. However, when you decide to change the look of your garden or house by shifting the plants, it requires a lot of effort. The heavy plants are difficult to move. In addition to this, if you plan to put the plant on a wooden deck then the water gathered underneath damages both plant and the deck. Thus a plant dolly or plant caddy is a great way to solve the problem.
Things Required:
– 6 slats of wood measuring 1-inch thick, 4-inches wide and 12-inches long (adjust to suit the trolley dimensions you desire)
– 4 caster wheels
– 16 11/4 inch wood screws
– Jigsaw
– Power drill
– Drill bits
Instructions
-
1
Curve the slates
First of all you need to carve out the curves on four of the slates. Mark a curve on the outer edges on this slate and then use a jigsaw to cut it out. In case you want to have square-edged plant dolly then you can move directly into the next step. -
2
Form a crosshatch
Make a crosshatch by aligning the wood pieces. If a piece of wood is in a better shape, you might want to place it on the top. -
3
Apply wood glue
Next you need to add wood glue between the wood slats. Then place a heavy object such as a cement block on the wooden slates and leave it to dry. By this you can easily insert the screws into the slats. -
4
Insert screws
Drill holes into the wooden slates. Choose a drill bit which is slightly smaller than the size of the screws. Then insert the screws from the underside. -
5
Drill pilot holes in the corner
Next you need to drill the pilot holes in the four corners of the crosshatch. Remember to check the size of the posts of the caster wheels before drilling the pilot holes. This is to make sure that these wheels fit tightly in the wooden slates. -
6
Insert caster wheels
After drilling four pilot holes, you need to insert the caster wheels in the crosshatch. -
7
Place the planter
In the end you need to flip the plant dolly and place the planter on the top of it.


