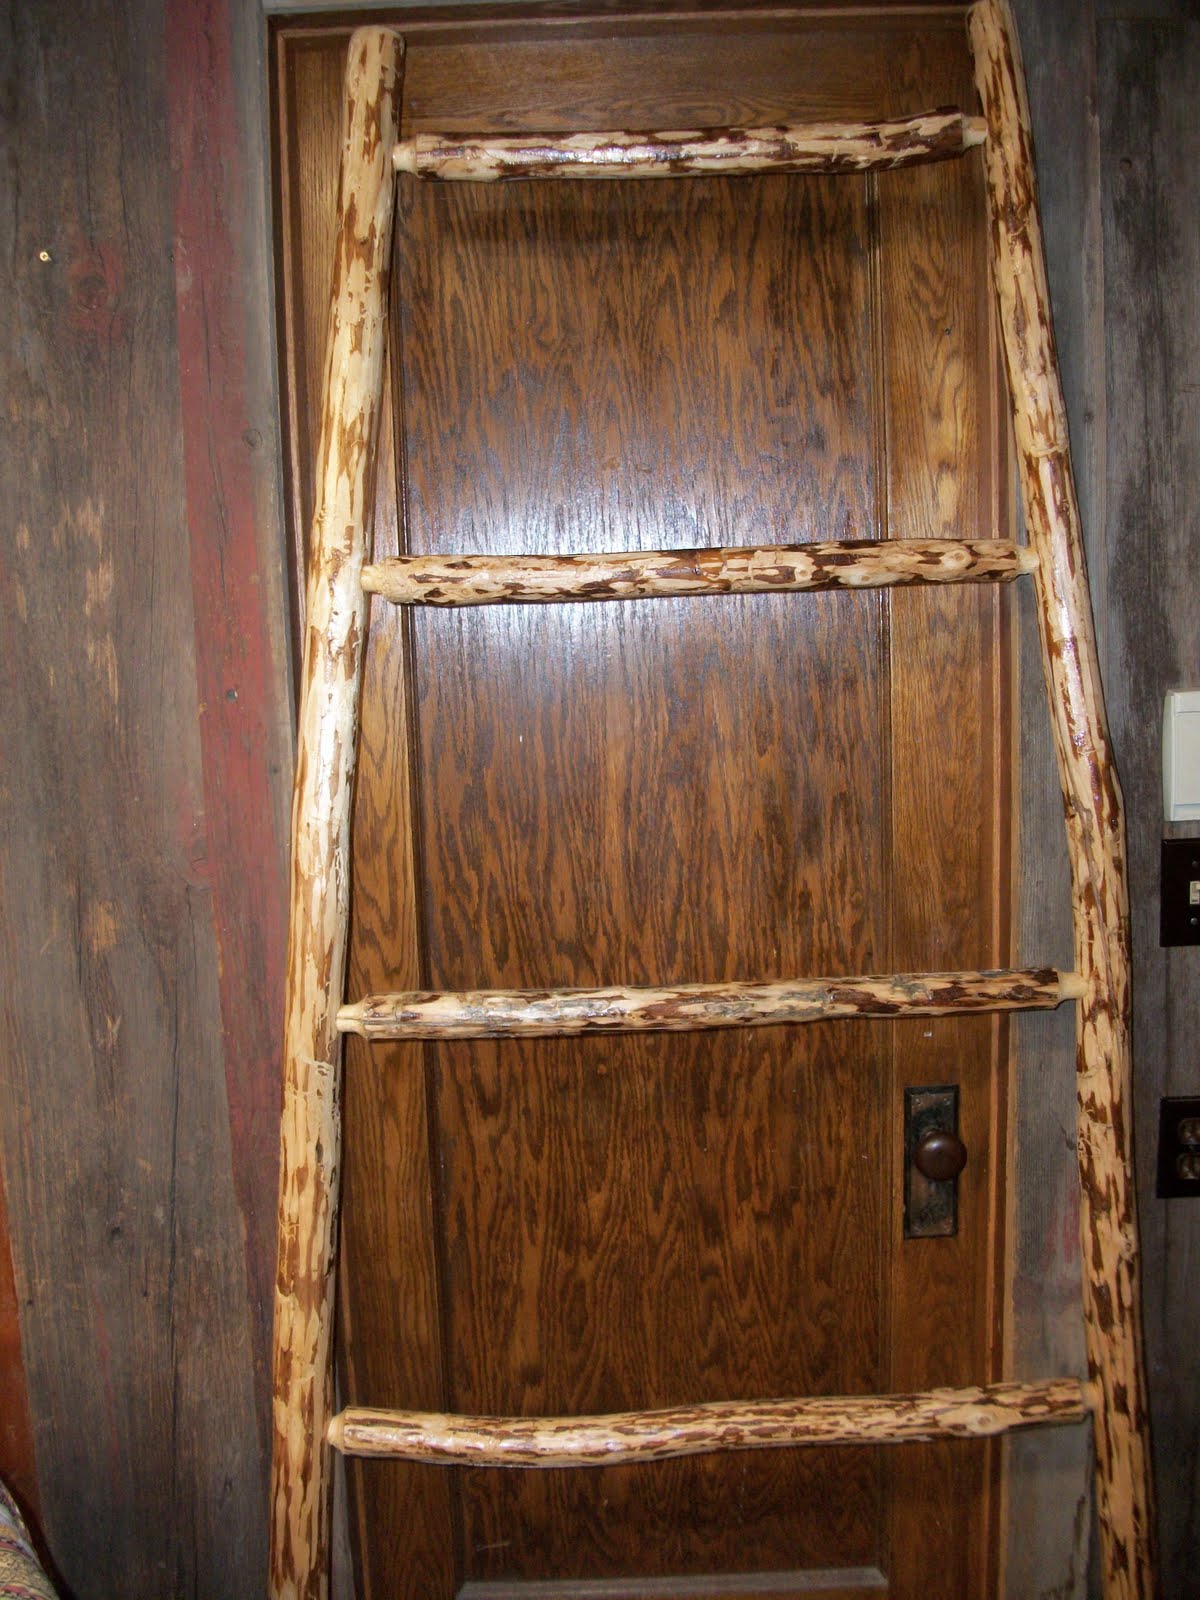
How to Make a Rustic Quilt Ladder

If you ever find yourself in need of a quilt ladder, consider making one at home instead of spending about a $100 to purchase it from a store. Making a quilt ladder at home is very easy and would require only a few hours of your time.
Instructions
-
1
Place the two 72-inch long seasoned wood rails, 2 inches in diameter parallel to each other, separated by a distance of at least a couple of feet. Mark one of the rails with an ‘L’ to indicate that it is the left sided wood rail of the quilt ladder.
-
2
Mark each of the wooden rails at 12 inches, 28 inches, and 44 inches. Drill pilot holes through each of the rails at the marked points using a drill attached with 1/8-inch drill bit. These are the points where you will be attaching the ladder rungs.
-
3
From the 5½-foot seasoned piece of wood, cut two sections; 16 and 24 inches in length respectively. The 16 inches section will be the top rung whereas the 24 inches section will be the bottom rung of the quilt ladder.
-
4
Referring to the pilot holes which you drilled in Step 2, secure the top and bottom rungs in place. Measure the length of the rung which will go in the middle of the ladder and cut out a section from the ½-foot seasoned piece of wood.
-
5
To ensure that the rungs fit snugly with the rails, sand or file excess wood. Quilt ladders are rustic which is why there is no need to be precise. However, you would want to ensure that gaps between rails and rungs are not too much.
-
6
Bore a 1/8-inch hole, slightly deeper than the depth to which the fastener would go, on both ends of the ladder rungs. Use a drill fitted with 1/8-inch drill bit for this purpose.
-
7
Nail down 16 penny nails on both ends of each of the three ladder rungs. Use more than one nails if required.
-
8
To prevent the ladder rungs from snagging your quilts, properly sand the rungs. You should also sand the top and bottom ends of the 72-inch long seasoned wood rails.


