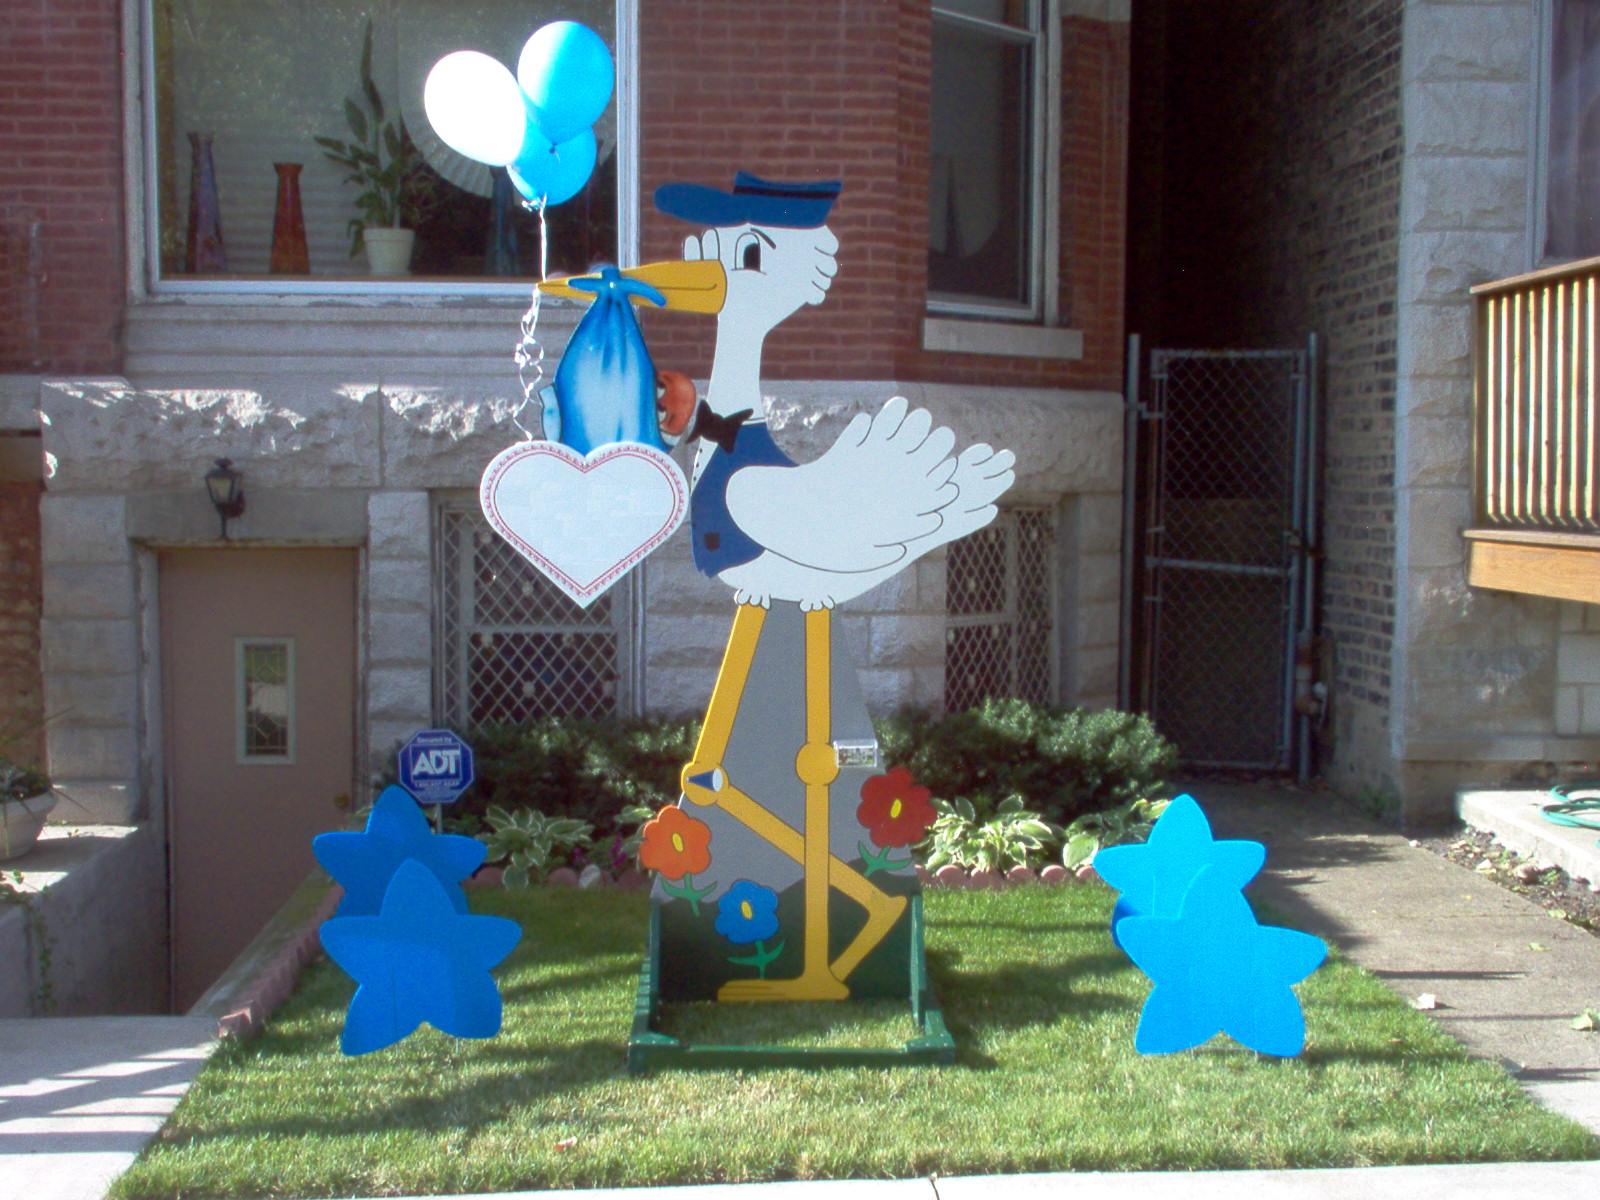
How to Make a Stork Yard Sign

Numerous people in developed countries such as US and Canada display stork signs in their yards whenever a baby is born in their home. Over the years, numerous companies have sprung up in these countries which specialise in making beautiful stork yard signs. However, making stork yard signs at home is easy which means you can save the money that you would have otherwise paid to a professional. All you will need is a computer with graphic designing software. Here is how you can easily make a beautiful stork yard sign.
Instructions
-
1
Decide that details and design of your stork yard sign. If it is a simple design that you will be creating, you can use simple software such as the Paint programme available by default in almost all versions of Microsoft Windows. However, if you are planning to make a more complex design, you will have to use specialised graphic designing software such as GIMP or Photoshop.
-
2
Note down all the information that you want to display on the yard sign. You may include your child’s gender, date of birth, mass and finally the name. Sketch a test design on a piece of paper until you come up with a design that you think is suitable. Pick the colours you want to add to the stork sign. Pink may be the ideal colour for girls whereas blue may be ideal colour for boys.
-
3
Open a blank document in the graphic designing software of your choice. In order to get the perfect quality when the yard sign is finally printed, 3600 pixels by 4800 pixels will be a good size whereas ideal resolution setting will be 200 pixels. Resize and adjust the resolution of the blank document that you just created accordingly.
-
4
In case the graphic designing software you are using is GIMP or Photoshop, you can choose the background setting as well. For instance, choose a transparent background if the sign will be printed on blue coloured card and involves the use of white lettering and white stork. However, in simple graphic designing software such as Paint, you will need to design on white background.
-
5
Add elements such as text, photographs, and other graphics to your design. Use separate layers if you are using GIMP or Photoshop. However, if you are designing in Paint, simply draw the design using the basic drawing tools available in paint. Irrespective of the software you are using, you can add external graphics or photos.
-
6
When you are done designing the stork sign, simply take the soft copy to a local printing shop and get the stork sign printed.


