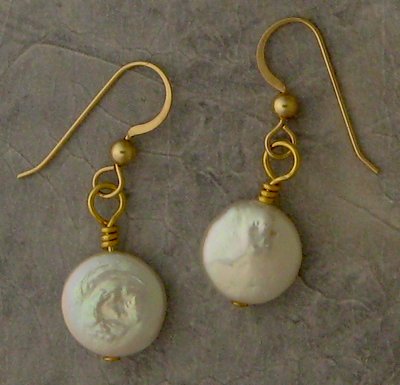
How to Make a Wire Wrapped Loop

Wrapping a wired loop is one important thing that all bead makers want to know. Wrapping a wire loop needs constant practice, which allows you to make clasps, make earrings and many other things. Because of its use in variety of things, it is a good thing to learn. Keep reading this article to know about the basic steps involved in this process.
Things Required:
– Wire (whether head or eye pins or it is done with another type of wire a high gauge wire at least a 20 or 18 is needed).
– Round nose pliers or combination pliers
– Flat nosed pliers or chain nosed pliers.
Instructions
-
1
First of all, you need to finish all your work on the wire or your pin, related to the beads or any other item.
-
2
Hold the part of the wire above the beads and check if the neck is 1/8" to 1/4" long. Neck is basically the part where you will wrap the wires.
-
3
If you find the length reasonable enough to work on, then bend it with 90 degree angle and position the nose pliers in a way that they are right up next to the neck, and gripping the 90 degree wire.
-
4
Now you need to wrap the wire to the top jaw of the pliers in a bid to create a loop. Here, you should make sure that the wire is wrapped strongly, as you will never want it to lose the grip soon.
-
5
Using the flat nosed pliеrs, you need to grasp the loop and then carefully use your round nose pliеrs or combination pliеrs to wrap the wire around the "neck" of the piece. You will want two to four wraps to be made carefully so that one is just below the one above it. You don't want them to overlap because this will appear sloppy and unprofessional.
-
6
Cut the wire close to the piece and using pliеrs, you will have to press from the same place. You are now done with making a wrapped wire loop.


