How to Make an Herb Garden Fountain

Adding a fountain to your herb garden will not only make it look beautiful, but its soothing sound will also make your feel relaxed. The lovely sound, added with the intense smell of the herbs will leave quite an impact. So, if you are planning to add a fountain to your herb garden, then you do not need to ask a professional to do it for you. In fact, you can easily do it yourself, provided that you have all the right tools to do it.
Things Required:
– Water feature
– Small stones
– Water
– Level
Instructions
-
1
Create the base of the fountain
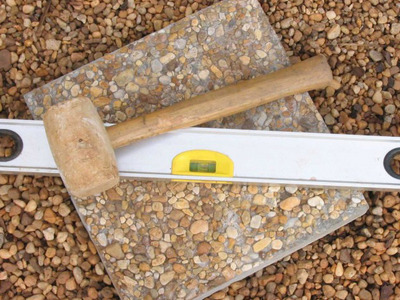
First of all, you need to create a level base for your fountain. Use anything flat which should be perfectly even. Make sure that whatever you use as the base, it should not make your fountain unbalanced, as you will never want the water to tip over, when the fountain is full of water. Here, you can use a marble slab, and use level to make sure it is even from all the sides.
Image Courtesy: diynetwork.com
-
2
Install the urn and the pump
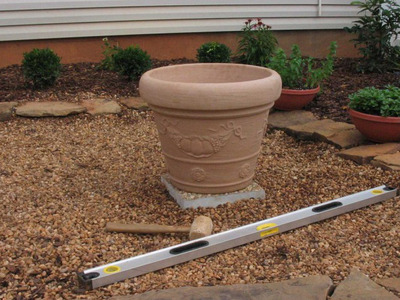
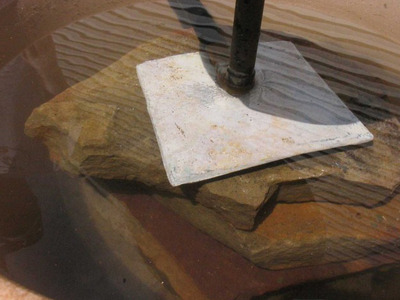
After you are done with the base, place the urn on top of the base, in this case, the marble slab. Now place the pump at the bottom of the urn, which you will use to create bubbles, after pouring water in the urn. The bubbles will create splashing sounds, adding beauty to the environment in your garden. Here, you should also make sure that the urn is evenly placed over the marble slab. Otherwise, the continuous splashing of water can make the urn further unstable, if you place it unevenly.
Image Courtesy: diynetwork.com
-
3
Adding stones and water to the urn:
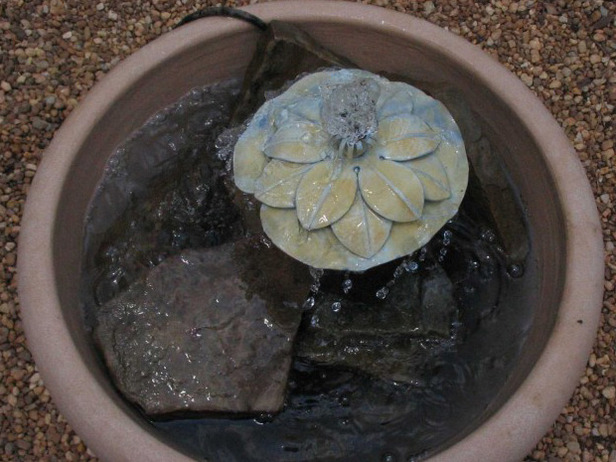
Once you properly place the urn on the marble slab and place the pump in the urn, you can put some stones in the urn. It will help in raising the level of the fountain. Thereafter, pour some water in the urn, and turn on the pump. Make sure that the fountain is making enough sound and the water is not getting out of the urn. Add more water if required. Here, you should try to fill as much water as you can, to give a more dramatic look to your fountain.
Image Courtesy: diynetwork.com


