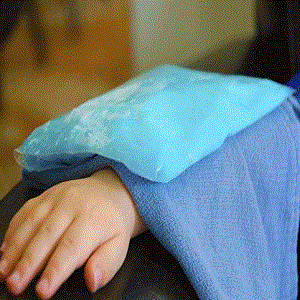
How to Make an Ice Pack at Home

Ice packs can be amazingly effective for relieving pain, especially in the neck and back area. They work by numbing the painful area and reducing the inflammation, thus providing instant relief. Commercial ice packs are available but they can prove expensive; a much better alternative is making an ice pack at home. Most homemade ice packs use peas and corn; however, they are hard to refreeze and can also give off a bad smell after some time. A homemade gel ice pack, made with alcohol and water, is a much better option, as it has a longer life and is easier to refreeze.
Things Required:
– 1 quart or 1 gallon plastic freezer bags (depending on how large you want the ice pack to be)
– Zippy Bags
– Water
– Rubbing alcohol
Instructions
-
1
Find plastic freezer bags in the market; the size of the bag depends on your personal preferences. Buy a couple of bags, to ensure that the ice packs can easily be rotated, so that when one is being used, the other is getting cold in the freezer. Zippy bags will also be needed, to provide a second layer of protection against leaks.
-
2
Using alcohol in the bag helps prevent the water from turning into a solid mass of ice. The alcohol gives the pack a gel-like consistency, which keeps it liquid and reusable. Add one cup of alcohol and 2 cups of water to each bag. The water quantity can be reduced for a less dense gel; it can also be increased for a thicker gel. The amount of alcohol should remain constant at one cup. Make sure you keep the capacity of the freezer bag in mind, and do not over fill it.
-
3
Follow this same procedure for each ice pack you make. Once they are all filled, try to take out as much air as possible from the bags before you zip them shut. Place them in another zipper bag so that the risk of a leakage is minimised.
-
4
Before use, place a clean towel between the ice gel pack and your skin, so that the skin is safe from any burns due to the plastic bag. When you use one of the ice packs, let the other ones remain in the freezer so that they can be ready if and when needed. After the first one melts and reaches room temperature, place it back in the freezer so that it can be ready for re-use.


