How to Make Buttons from Paper Scraps
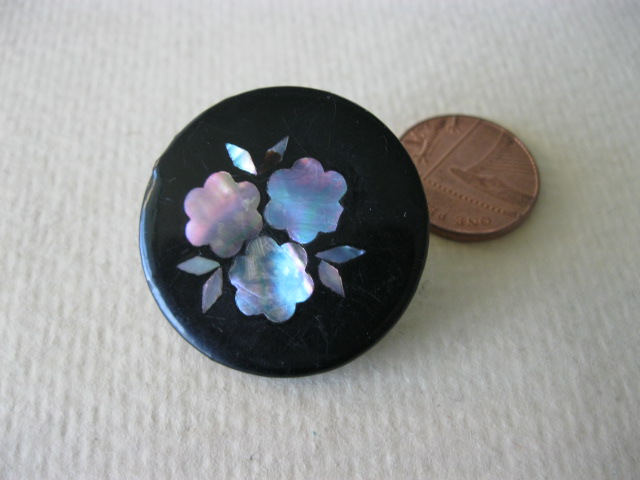
Extra paper scraps do not necessarily need to be dumped off at a recycling centre every time – instead, you can utilise them at home for a number of purposes, prime among these being arts and crafts. If you find you have a bit too much extra paper on your hands, why not try making papier-mache buttons? Easy to make, these buttons are fun to decorate, and can be great for accessorising.
Things Required:
– Scrap papers
– Measuring cup
– Water
– Blender
– Sieve
– Plastic container
– White craft glue
– Plastic candy or soap moulds
– Petroleum jelly
– Toothpick
– Cookie tray
– Oven
– Art supplies for decorating
– Varnish
Instructions
-
1
Start by gathering all the scrap paper around your house – use old notebooks newspapers, phone books, etc. Once you’ve assembled a large pile, tear all the papers up into small squares, which should be roughly around 2-by-2 inches in size – however, do not stress over the size too much as they do not need to be perfect, and if you get tired of tearing the paper up with your hands, simply use a pair of scissors.
Image courtesy: inkstainswithroni.blogspot.com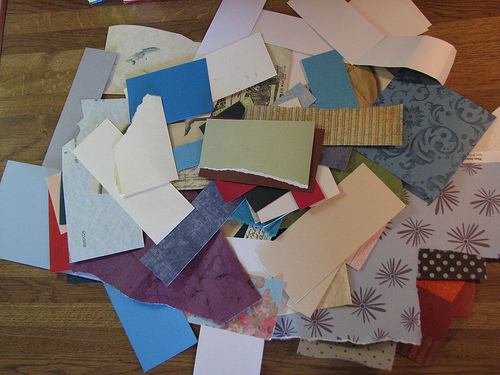
-
2
Next, pour two cups of water into your blender, and toss in one cup of the torn up paper pieces. Turn the blender on high, and blend until the paper and water combines into a pulp. Once you’ve achieved a rough, chunky sort of pulp, pour the mixture through a sieve. Then proceed to scoop out the pulp in to a plastic container.
-
3
Now, add half a cup of white craft glue to the pulp, and mix it into the pulp, combining it thoroughly. Make sure you continue to squeeze any excess water out of the mixture as you knead it, and pour it out of the container.
Image courtesy: couponclipinista.com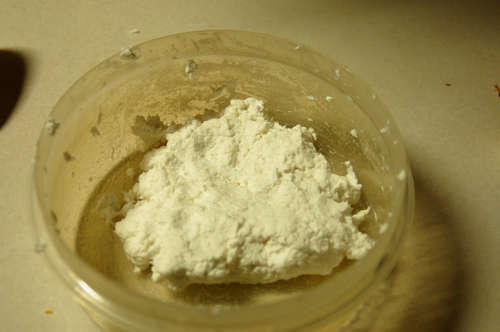
-
4
Once the pulp and the glue have been incorporated, and all excess water has been squeezed out and disposed of, grease your plastic mould with a small amount of petroleum jelly, and push the pulp in to the moulds, making sure you press it down to make the tops of the buttons as flat and smooth as you can make them. If you want, you can also poke holes into the buttons, using a toothpick – however, do this while the pulp is still wet.
-
5
After all the moulds have been filled, allow the buttons to dry overnight. The next day, turn the moulds over on a cookie tray, and press the backs, to make the buttons pop out. Line them up, and let them air dry for another day – however, if you cannot wait that long, simply slide them in to a 150-degree oven for around one to two hours, until they become solid.
Image courtesy: eatitanyway.com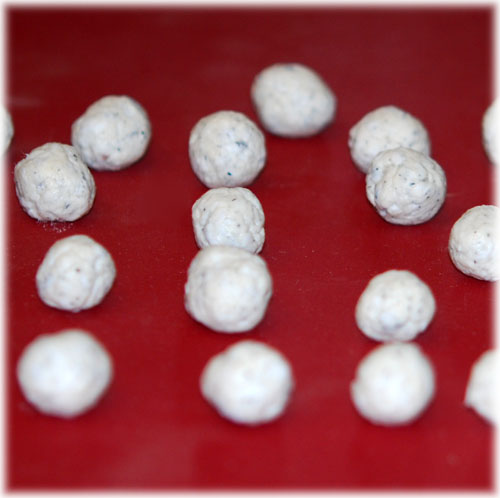
-
6
Finally, it’s time to decorate. Use your preferred tools – markers, acrylic paints, or even glitter. Once you have painted on the designs you want, brush the buttons with varnish to give them a hard, shiny finish. Your homemade paper scrap buttons are now ready for use.
Image courtesy: seeknewyorktours.com