How to Make Candy Topiary
Topiary is the practice of exercising live perennial plants by cutting the plants and branches of trees, shrubs and sub shrubs to create a clearly defined shape. It can be a geometric or a fanciful shape, and can be regarded as a form of art, moulding living things to make sculptures.
There are several popular Topiaries around the globe that are renowned for their exceptional and fine looks. Railton, Samban-Lei Sekpil, Royal Palace, Zarcero, Levens Hall and Topsham Railway Station are some of the most popular Topiaries in the world.
Topiaries have a long history, going back to the dates of Roman times. There usage was declined in the 18th century, but were revived in the 19th century.
There are several types of Topiaries as well, which are made by assembling different items to create a shape. Candy Topiary is one of the most fancied and much appreciated Topiaries among the young ones, and is mostly prepared at Birthdays and Christmas.
This candy topiary will be prepared in around 2 hours. However, the preparation time will be decreased dramatically if more than two hands are working along.
Tools and equipments that will be used to make a nice looking Candy Topiary:
Things Required:
– 7-inch flower pot
– 6-inch Styrofoam ball
– Styrofoam cone (18 inches tall by 6 inches wide)
– 18-inch-long, 3/4-inch-diameter dowel (stained)
– 4 to 5 bags of assorted fun-size candy bars
– 1 pound of twist wrapped candies
– Hot-glue gun
– Glue sticks
Instructions
-
1
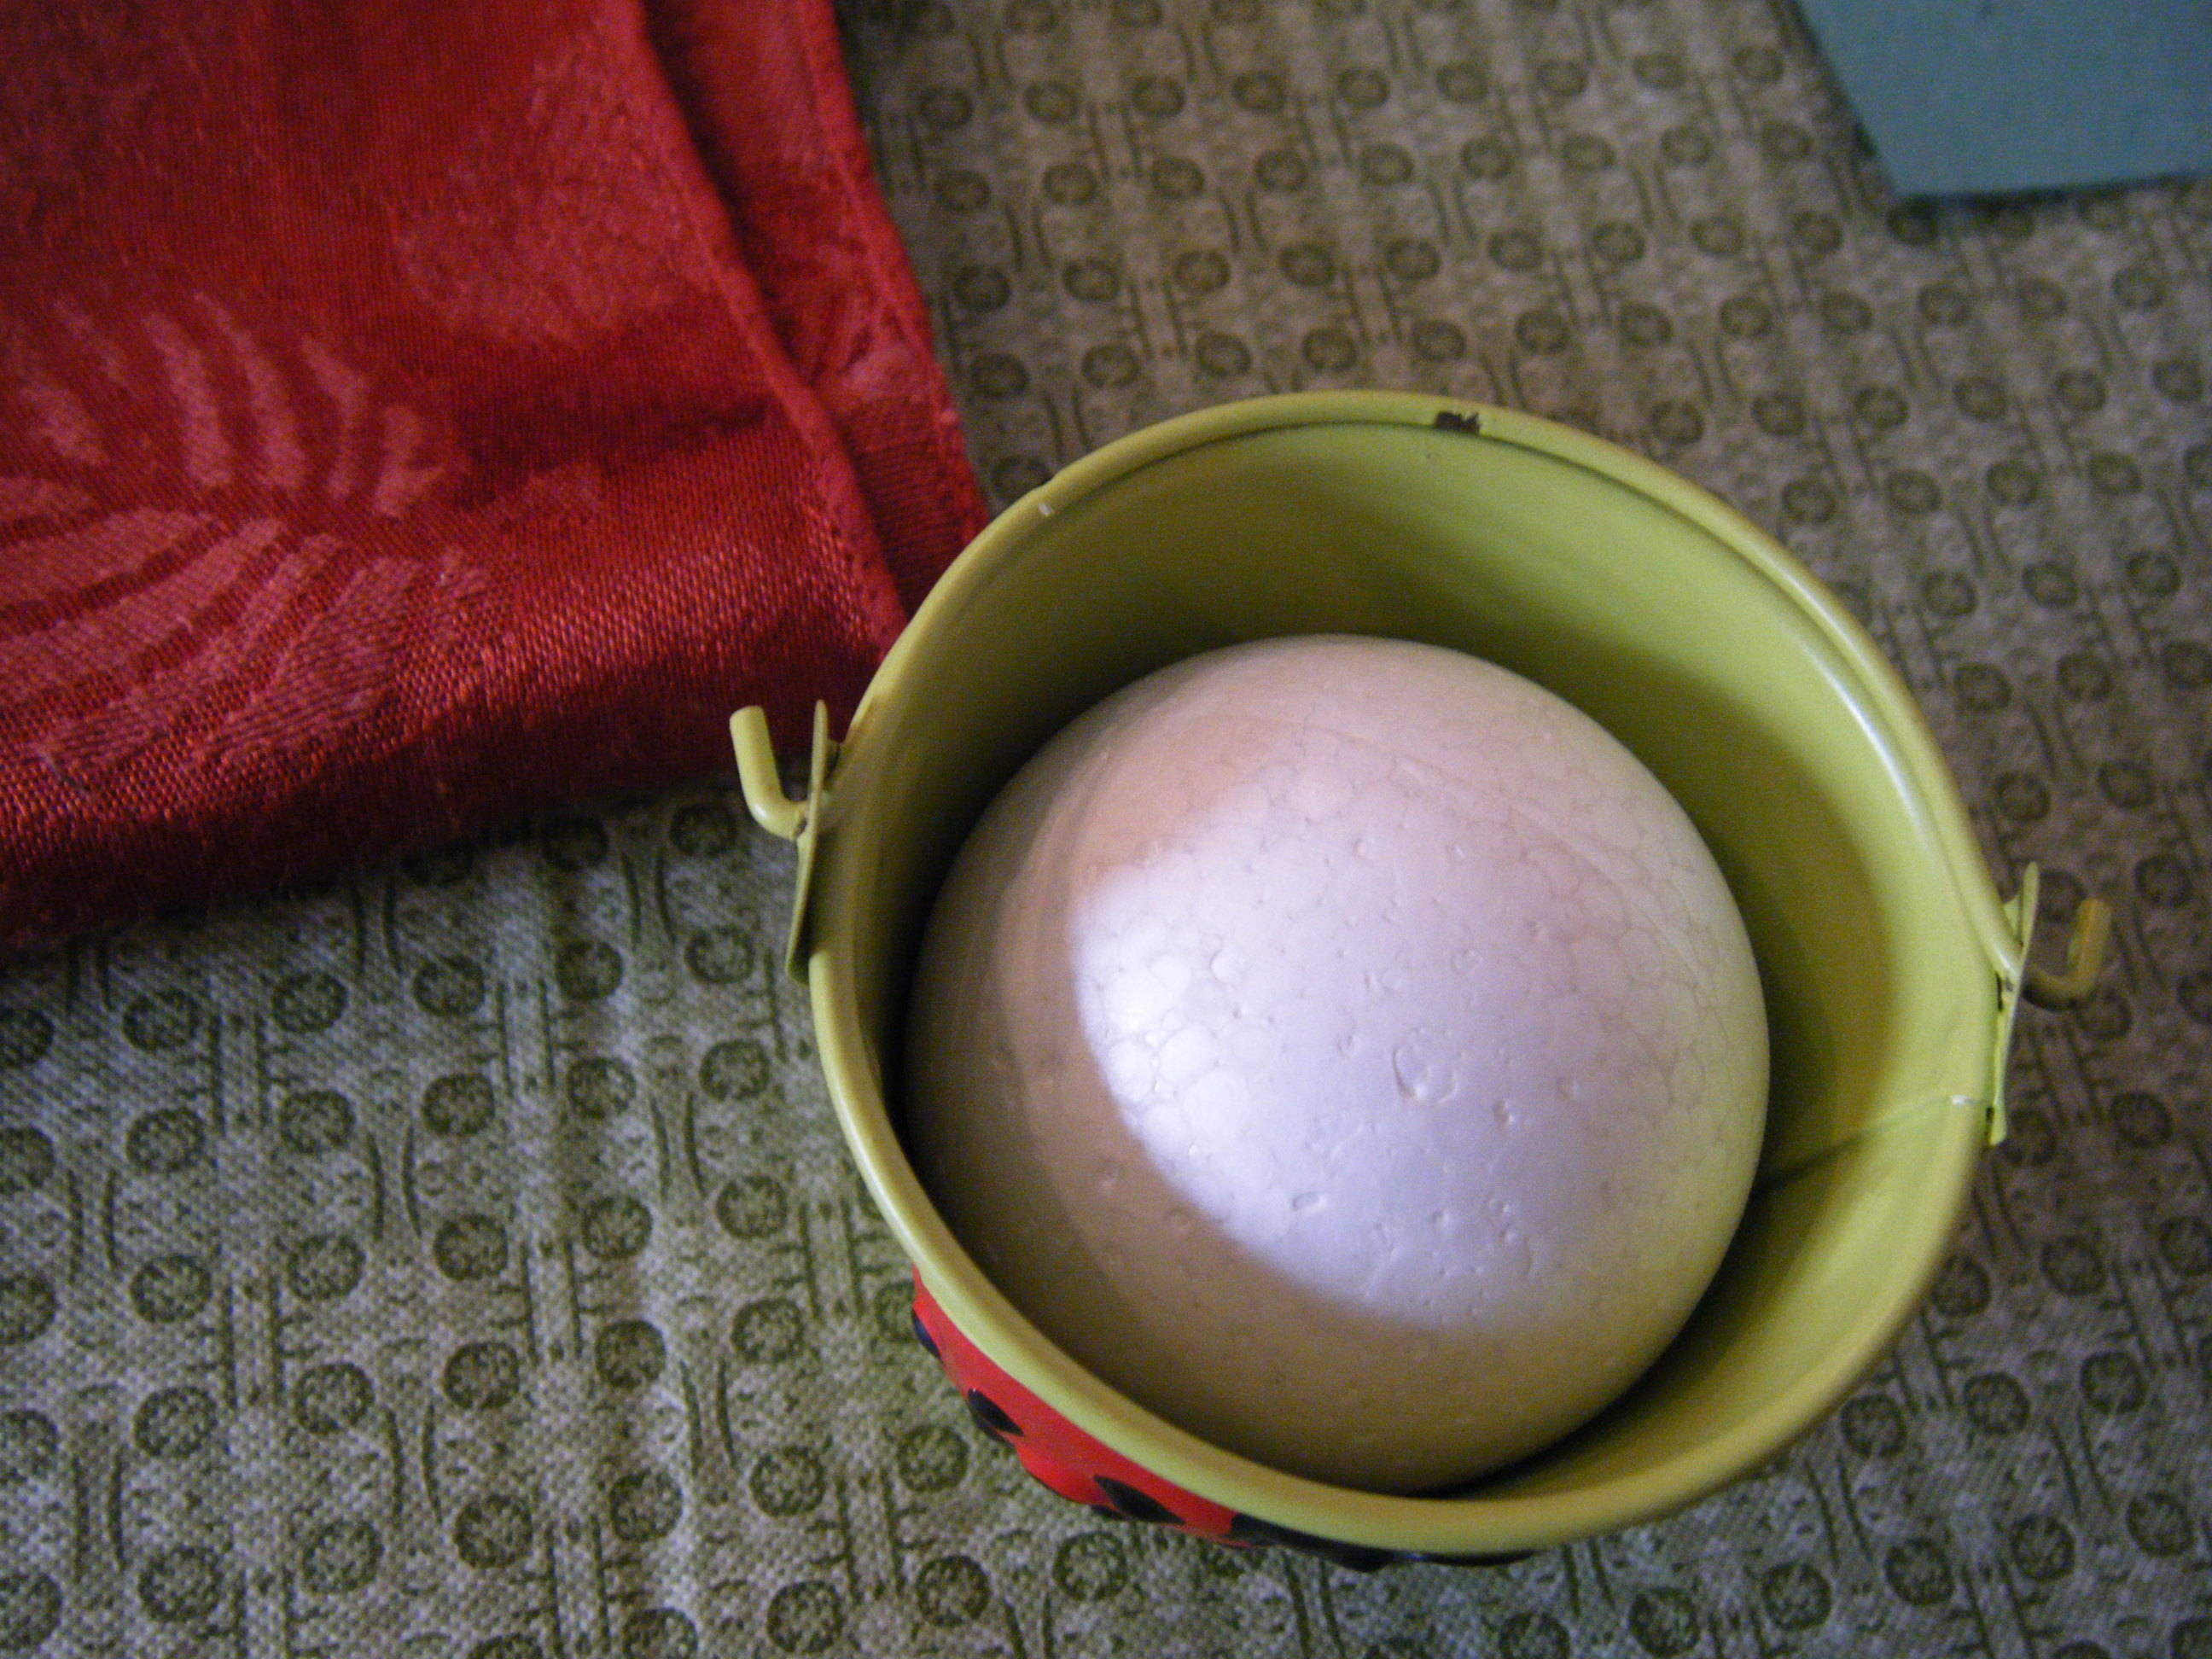
Take the flower pot, and place the Styrofoam ball inside it. Force a rod through the Styrofoam ball inside the flower pot. Poke holes into the cone. Glue the rod or dowel and attach the cone with it. Make sure that your glue gun is not set on high settings or it will crinkle the wrapper. Low settings will be fine.
Image Courtesy: kidsparties.about.com
-
2
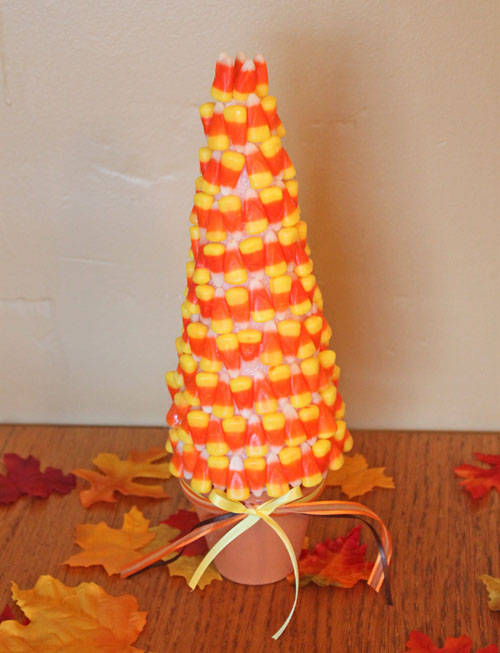
Start attaching the first row of candies from the bottom of the cone. Make sure that all the wrappers are lined up properly and they extend around ½ inch below the base of the cone. Hold the candies until it is properly attached to the cone.
Attach the second row of candies: Apply the glue at the top of wrapper, and make sure that there is a slight overlap of candy rows.
Image Courtesy: candy.about.com
-
3
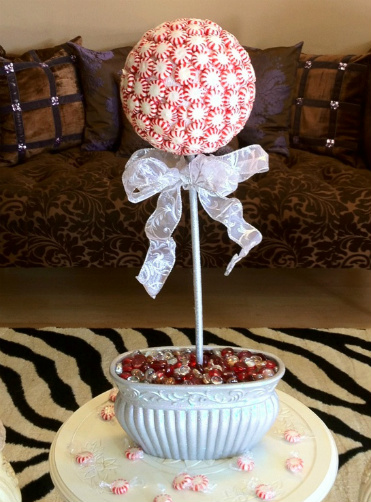
Continue gluing all the candies in rows around the cone all the way to the top of the rod. When the cone is completely covered, place all the remaining candies at the bottom of pot.
Image Courtesy: wearpinkwednesdays.com


