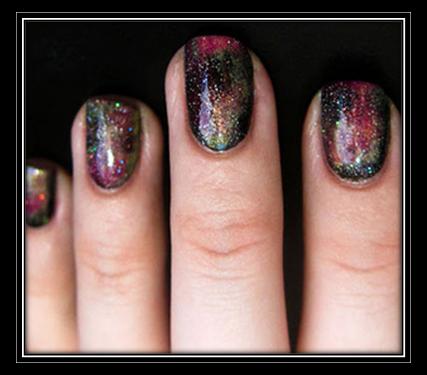
How to Make Galaxy Nails
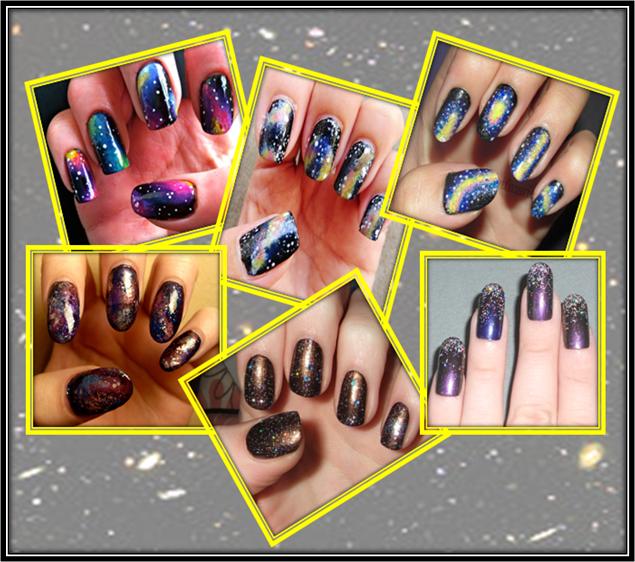
Galaxy is an enormous interstellar medium of dust and gas. If you love this galactic effect, you can paint it on your nails for a cool effect. Galaxy nails are cool and futuristic, rocking the latest nail art trends. The realm of artistic possibilities in the galaxy nails is as never-ending as our universe. From Milky Way to nebulae, you just have to play with various glittery nail polishes. The given below simple steps will show you how to make cosmos on the surface of your nails:
Things you will need to make Galaxy Nails
– Base coat
– Black Nail Polish
– Blue Glitter Nail Polish
– Purple Glitter Nail Polish
– Silver Glitter Nail Polish
– Top Coat
– Foundation Rectangular Sponge
– Tissue Paper
– Cotton Swabs
– Nail Polish Remover- to clean up the messy edges of nails
Instructions
-
1
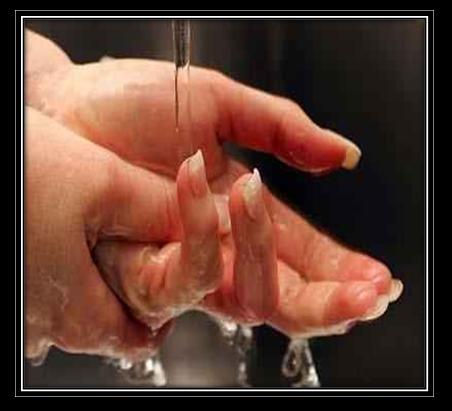
First of all wash your hands and wipe them dry. Take a cuticle pusher and push your cuticles back to give your nails neat look.
-
2
Once your nails are all set, apply a thin layer of base coat to your nails one by one and wait for some time until they dry well.

-
3
Now, apply two coats of black nail polish and sit down aside for some time to let your nails dry completely.
Note: Do not be impatient as two coats of black nail polish will take few minutes to dry.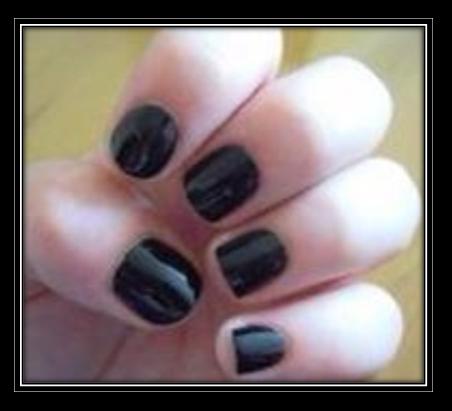
-
4
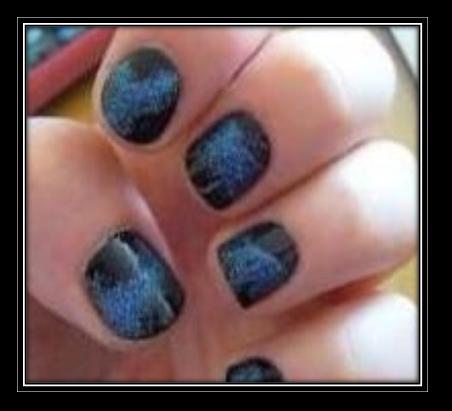
Pick a piece of paper and add few drops of blue glitter nail polish to it. Now, soak the glittery nail polish with a foundation sponge and gently dab it to the middle of your nail. Repeat this procedure with the remaining nails and wait for minutes until dry.
-
5
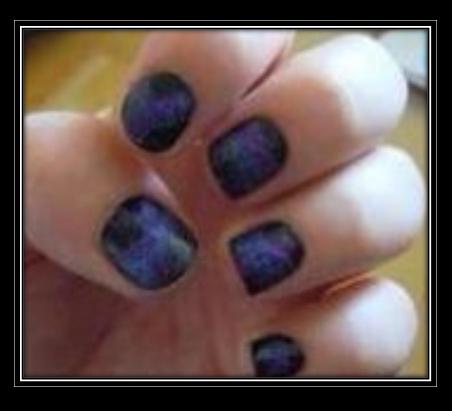
Take another piece of paper and add 2 to 3 drops of purple glitter nail polish to it. Again dab the drops with a sponge and apply it around the previously applied blue glitter nail polish. It helps in highlighting your nail paints, leading to a galaxy look. Wait for some time until the nail polish layers dry thoroughly.
-
6
Apply a thin layer of silver glitter nail polish to your nails, starting from cuticles of your nails to the growing ends. Again wait for some time until your nails dry.
Note: You can replace the silver glitter nail polish with other nail paints, containing various shapes of flecks of glitter in order to resemble the stars.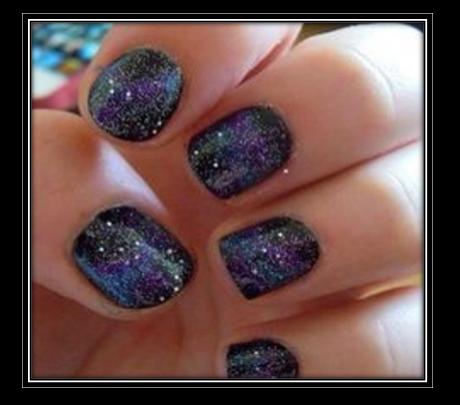
-
7
Apply a thin layer of top coat and wait until dry.
-
8
Take a tissue paper, dip it in a nail polish remover and carefully clean up the messy edges of your nails, if any.
-
9
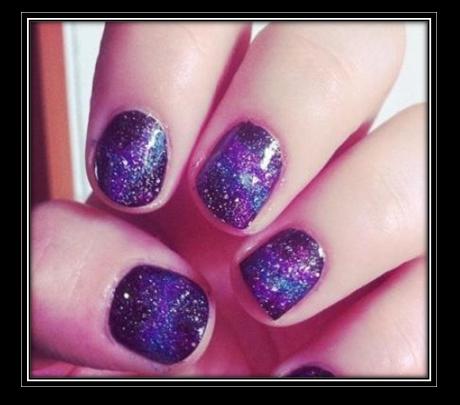
Enjoy your Galaxy Nails are with a twinkling look and find yourself graceful.
-
10
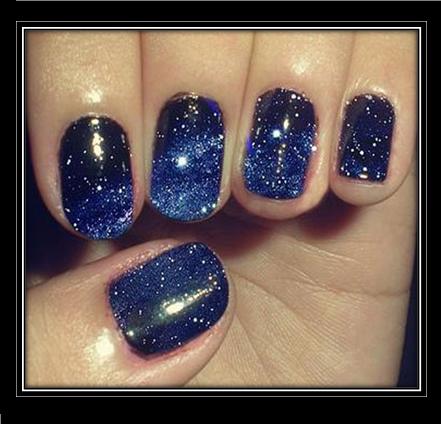
The above mentioned galaxy style is not the end of the Galaxy Nail’s world. You can create a Milky Way Nails by adding nail polish stars to the top coat, before it dries out. Otherwise, you can replace the top coat with thin layer of Star Nail polish.
-
11
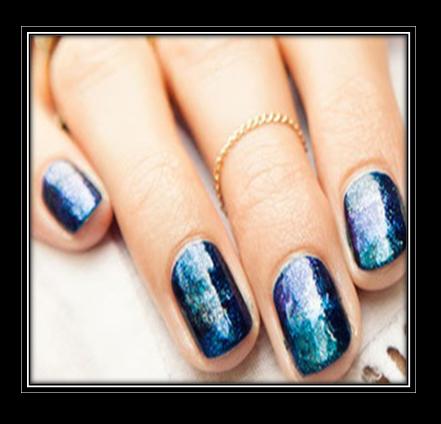
For Planetary Nails, you can simply blend navy blue frosted nail polish, teal nail polish, and glittery silver nail polish. Apply a layer of this nail polish mixture to your nails for an unpredictable sparkling effect.
-
12
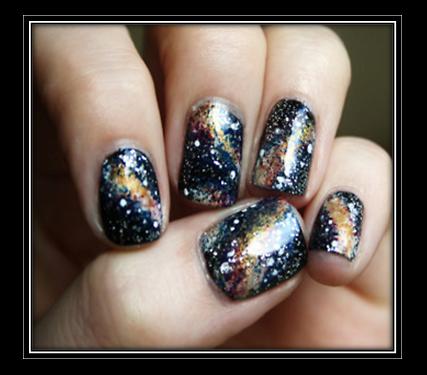
You can paint a stellar gases look on your nails as well. Apply a black base nail polish and to your nails and give them some time to dry. Meanwhile, add few drops of peach nail polish, coral nail polish, mint nail polish, and turquoise nail polish to a piece of paper and mix the with a nail brush. Now, dip a cotton swab in this glitter mixture and dab on your fingers’ surface. Again, wait for few minutes until dry. Grab a white nail polish and make dots on your finger to complete the stellar gases look with stars. Seal this amazing glitter look with a transparent top coat and enjoy.
-
13
Cosmic dust is another latest galaxy nail trend, which gives an amazing look to your nails. Apply black base nail polish and let it dry. Now, blend burgundy nail polish, glitter bronze nail polish, and lime glitter nail polish to form a smooth glittery mixture. Dip a nail polish brush in the mixture and dap it on your nails for the effect of cosmic dust.
