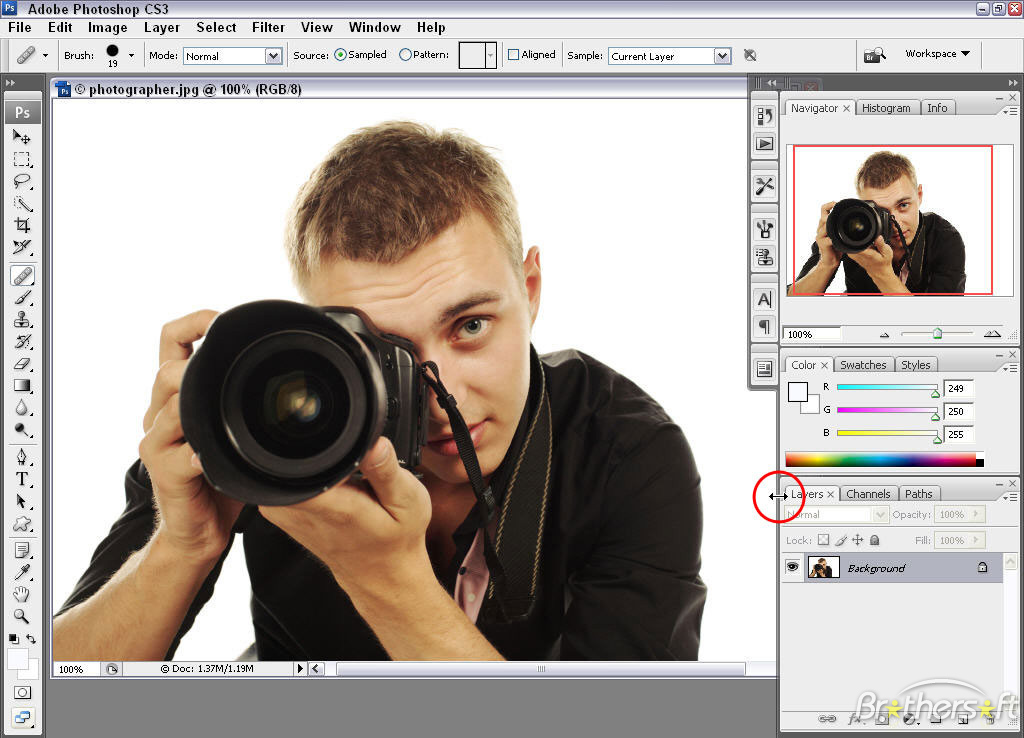
How to Make Images for the Web Using Adobe Photoshop

Images play a vital role on the internet because most users first pay attention to the pictures and then gradually read the content along with it.
One of the most popular solutions in the market with regards to images is Adobe Photoshop. The software is designed to process digital graphics. The secret to the popularity of the editor is in the brilliant combination of simplicity and power based on a rich set of algorithms designed for image transformation.
The set of algorithms are implemented in the form of filters. But the core of the editor provides great opportunities.
Instructions
-
1
Open the image using the "Open as", and then select the program Adobe Photoshop. In "Images" go to "Image Size", specify the new settings, and click "OK".
-
2
See if the image has been ticked in "Lock aspect ratio", otherwise you will end up with unformatted file. Save the results, and then re-check the finished file in the "Properties" button on the requirements of the selected resource.
-
3
Go to the boot image to the correct site, select the edited file and confirm your choice.
-
4
If you have access to the content management system, then the image can be of any valid format and size. First download the file in a special folder for storing graphical components. Next, list the address to it in code or use an adapted menu.
-
5
To do this, create a new material, in the Edit menu, click on the download icon image, select a photo and set additional attributes (data length, the width, the presence of frames, proper spacing, etc.).
-
6
Flip the image. Select from the menu "Edit", "Transform" and "Rotate 180 ˚", if you want to make a "classic" flipping (by its rotation about a central point). Select "Edit", "Transform", "Flip Horizontal" or "Flip Vertical", if the image is to be reversed by its symmetrical reflection of the horizontal or vertical directions, respectively.
-
7
Adjust the angle of the image if necessary. Select from the menu "Edit", "Transform", "Rotate". Drag the corners of the image with the help of a mouse until you set the desired angle of the image.


