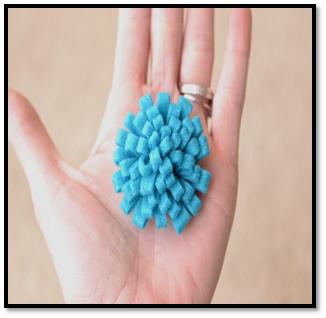
How to Make Loopy Felt Flower
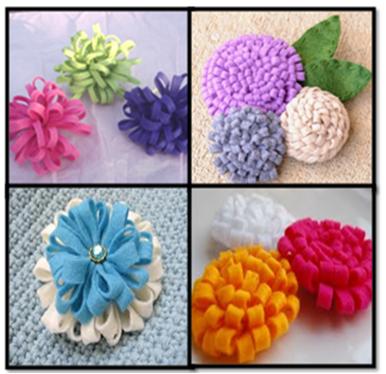
Making loopy felt flowers is one among the fun activities that children of various age groups love to carry out with their elders. It is a simple activity that does not require anything else than few minutes, basic sewing skills, and some of the easily available items. You can use the loopy felt flowers in numerous activities. For example, you can use them to decorate your crafts items, including frames, wreaths, cards, hair bands, clothes etc. You can make them in various colors and sizes. Moreover, you can make your loopy felt flowers occasion specific, like you can make red loopy felt flowers for Valentine Day, red and white for Christmas, colorful for birthday parties or other celebrations.
Things Required:
– Felt
– Scissors
– Fabric Glue
– Pin backs
– Cardboard
– Needle
– Embroidery Floss
Instructions
-
1
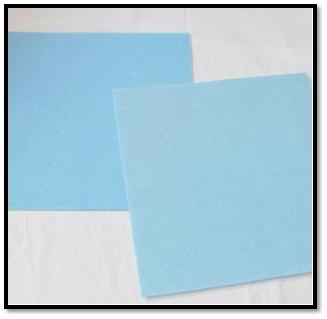
Take a piece of good quality felt, place it on a smooth surface and remove all its wrinkles, using both hands.
-
2
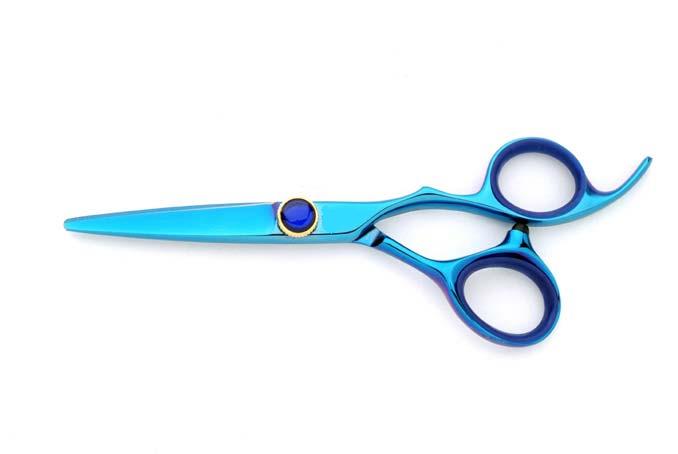
Now grab a sharp scissor and gently cut the felt by any length, depending on how big you want your loopy felt flower.
-
3
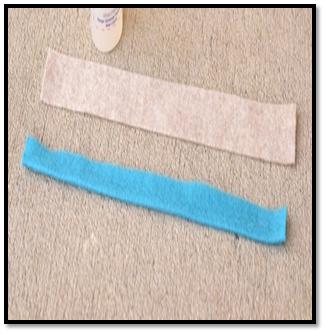
Fold the felt in half and use a fabric glue to close its open end. Leave it for few minutes until dry well.
-
4
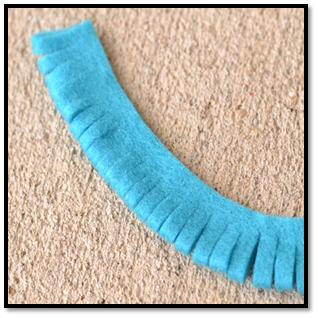
Once the felt is dry, cut small slits into the folded end, using a scissor. Make sure to keep a balance distance between the slits.
-
5
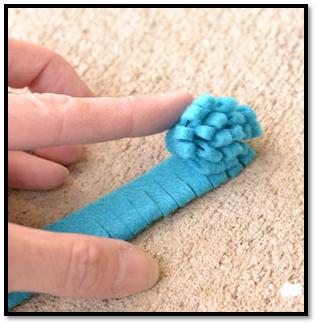
Start rolling the felt from one end until you reach the other end, gluing it along the way.
-
6
Adjust the folded felt until you achieve the desired look. Set your loopy felt flower aside for few minutes to dry well. In the mean time, you can make some more flowers using the above mentioned steps.
