How to Make Paper Ice Cream Ornaments

Paper Ice Cream Ornaments are adorable crafts that are very easy to make. They can be used as roof hangers or in the decorations of various events, especially Christmas. Paper Ice Cream Ornaments are made with few easily available items, like brown paper bag, colorful tissue papers or construction paper, threaded needle and glue. Learning how to make paper ice cream ornaments is a nice experience for parents as they can use this idea not only to decorate their house but to engage their children into healthy activity as well.
Things Required:
– Brown Paper bag
– Colorful Tissue papers or construction papers
– Glue gun
– Thread
– Needle
– Scissors
Instructions
-
1
Make Paper Cones
Pick a good quality brown paper bag and cut some circles out of it, using a sharp pair of scissors. Now cut each of the paper circles in equal half and shape each of the semi-circles into cones, as shown in the image. Use hot glue gun to secure the cone. Trim off the extra edges of paper -if you like. Leave the brown paper cones to dry.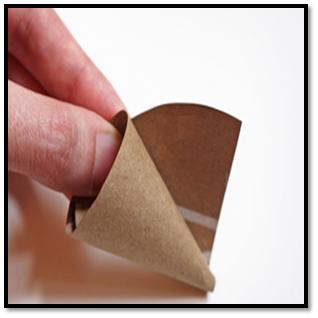
-
2
Make Paper Balls
In the mean time, grab some pieces of tissue or construction paper according to the number of paper cone you made and wad them into medium balls. What you can do is, fold the papers and crumble them up gently. Make sure to press them hardly.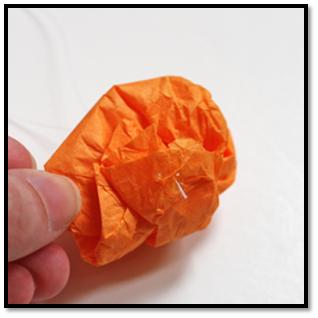
-
3
Add Threads to the Paper Balls
Now if you are planning to hang the paper ice cream ornaments; thread a needle with colored or transparent thread and poke it down through the top of the paper balls that will serve as the top scoop of the cones. Cut the thread and secure the loose ends on the underside of the paper balls, using a hot glue gun.
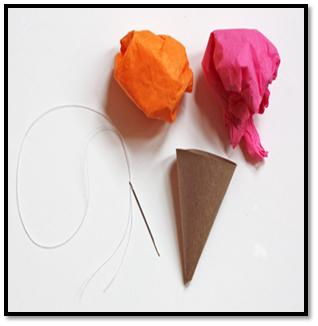
-
4
Add Paper Balls to the Cones
Apply some hot glue to the inner rims of the paper cones and carefully push the bottoms of the scoops into the paper cones. Now apply glue to the inner side of the scoops and attach paper cones. Leave the cones for some time until they dry well and then hang them according to your desire.
