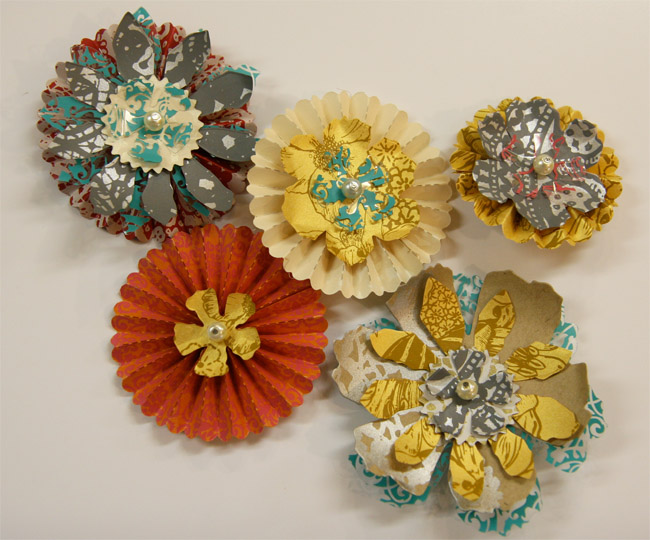
How To Make Paper Rosettes

I am sure that most of you have noticed paper rosettes in different parties and these simple but beautiful party decors always amaze and amuse everyone. These paper rosettes are the best option you have to add colour in your small gathering without spending any significant amount.
The additional benefit is that you need to be a cutting master to make these rosettes rather their making is so easy that even a kid can do the job.
These rosettes are of multiple uses as you can hang them on tress in summer dinners or you can place them above the serving table in wedding. You can personalise by attaching a picture or label with these rosettes and hang them for seating.
Instructions
-
1
The pre-cut rosettes are available in the market but if you did not find any then you can make your own. All you need is a 1.25 inch tall and 8 inches long piece of paper. Now cut along the top by using a scissor.
-
2
Now you need to pleat this strip of paper with a margin of ¼ inch. It is just like bending paper for fan in which we bend one side in and the other side out. Pleat this strip of paper all the way down to the other end.
-
3
After pleating properly, insert upper section into lower and then apply glue on both ends of the paper. It is better to use a glue gun to do it with perfection.
-
4
Draw the paper together and this will have a shape of cupcake holder. Now press down with a finger and squash it to the ground.
-
5
Now you will have to flip it over. This process of turning over may loosen up your rosette so you should keep little pressure on it to preserve its shape.
-
6
Next step is to apply glue at the middle of its back and pop the cardboard scallop exactly in the centre. Press it until the glue establishes its grip.
-
7
Now turn it over and apply glue right in the middle of other side. Make sure you use less glue on the front side. Place the cardstock scallop and press it until glue holds it. You may use gems or doodads on the top to make it more pleasing for the eyes.


