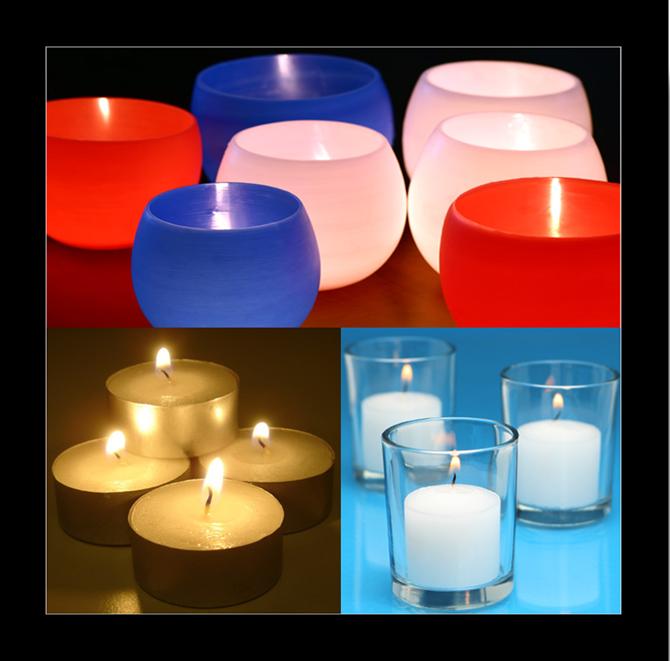
How to Make Water Balloon Luminaries
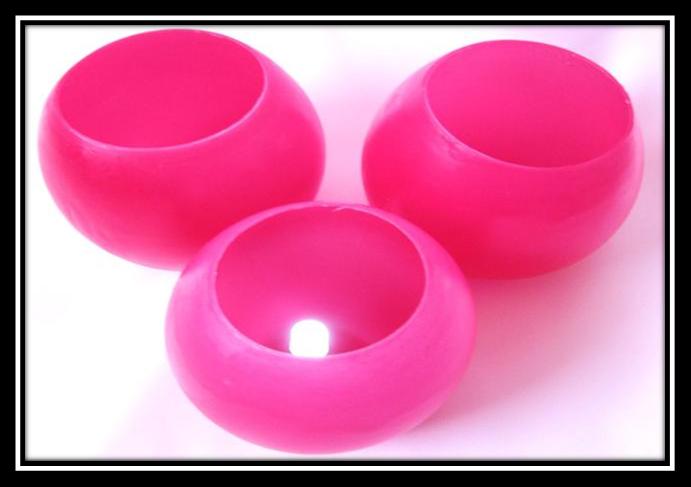
Have you ever considered using balloons for making candle holders? No, then you are certainly missing out on one of the coolest decoration ideas. Well you might have been using balloons for decoration and celebrations, but after going through this guide you will figure out that these ornaments can help you in creating beautiful Luminaries as well.
You can either use them as great decorations for a wedding or a bridal shower or you can just scatter them around your home.
This enjoyable and uncomplicated project with a fine-looking payoff will definitely excite you. The method is quite simple but you will have to be very careful while handling the wax because it might burn your skin if it spills.
Follow the method arranged below carefully decorate your house with some amazing balloon candle holders:
Preparation Time: 30 minutes
Things Required:
– High-melt paraffin wax
– Balloons (depending upon the number of jars you are making)
– Double boiler (1 pot large enough to place another pot in it)
– Wax paper or a plain paper
– Tea light or votive (1 for each jar)
Instructions
-
1
Fill Balloon with water:
Fill a normal size balloon with lukewarm water, and tie it firmly so that the water does not dribble out. Make sure the surface of your balloon is clean. If it is wet, take a dirt free cloth and clear the surface.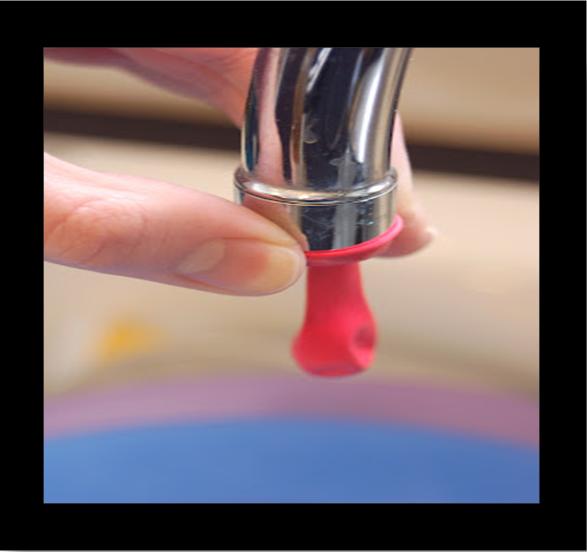
-
2
Melt the wax:
- Take a double boiler and pour wax in it. If a double boiler is not available then take an old pot that is large enough to place another small sized pot in it.
- Pour water in the large pot and place it on a stove.
- Take the other pot and pour wax in it, then directly place it into the large pot which contains boiling water. Make sure the heat is not high – the temperature should be 180 Fahrenheit.
- Take a wooden spoon and keep on stirring the wax in order to melt the wax lumps.
- If, while melting the wax, water from the large pot evaporates then you can add more because if your pot runs out of water it will immediately get hot and the wax will burn. But do not remove the double boiler from the stove. Keep the heat to the minimum.
Note: Before you start the procedure, place a wax paper or a clean paper on the counter; this will be used later.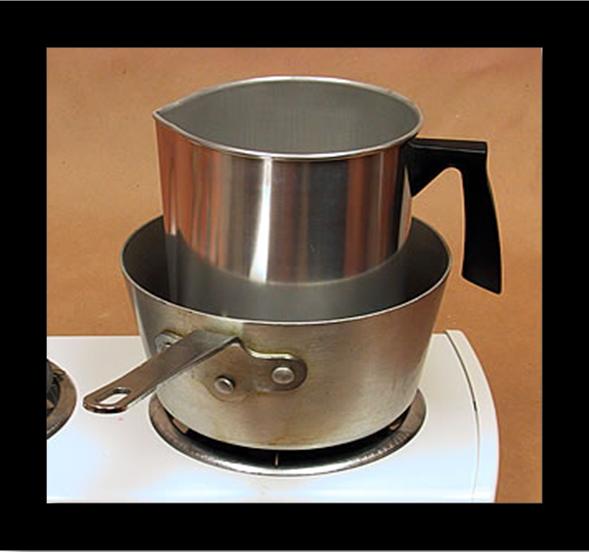
-
3
Dipping Balloon:
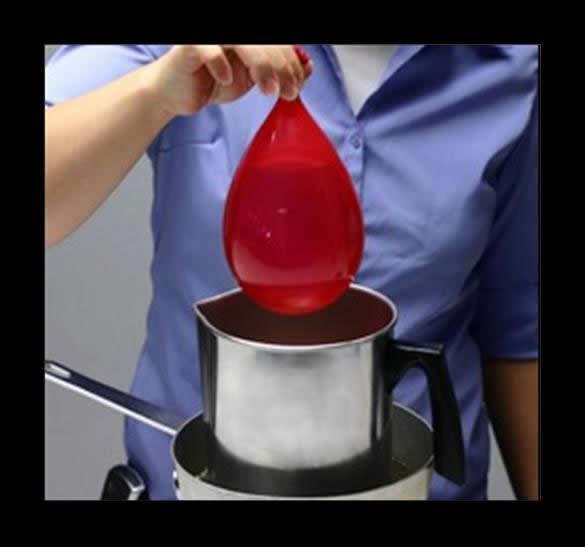
By keeping the double boiler on the stove with a simmer heat, hold your water filled balloon from the nozzle and dip it into the melted wax.
Note: Do not pass balloon’s water level, while dipping it into the wax.
-
4
Re-dipping the Balloon:
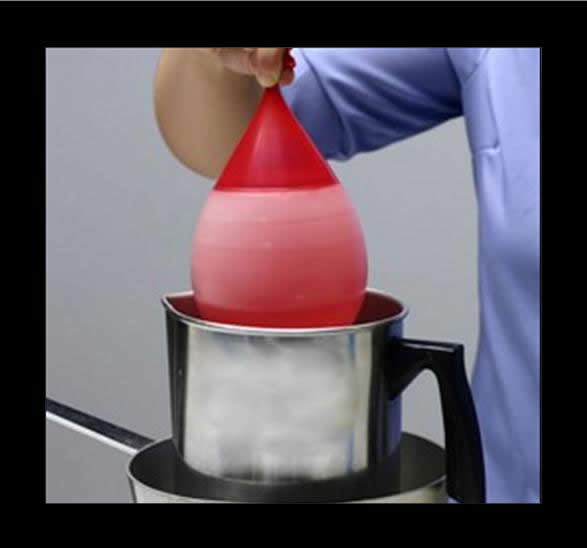
Keep holding the balloon in the melted wax for a few seconds and then lift it up very slowly. Then after a minute's break again dip it into the wax; repeat this procedure four to five times to give your jar a 1/4 to 1/2 of an inch of thickness.
-
5
Flat the bottom of the Waxed Balloon:
While the waxed balloon is warm, set it on the wax or a normal plain paper which was previously placed on the counter. This will create a flat bottom of the candle jar.
Note: Do not release the balloon keep holding it or else it will ruin the shape of your jar, because of the high density of water.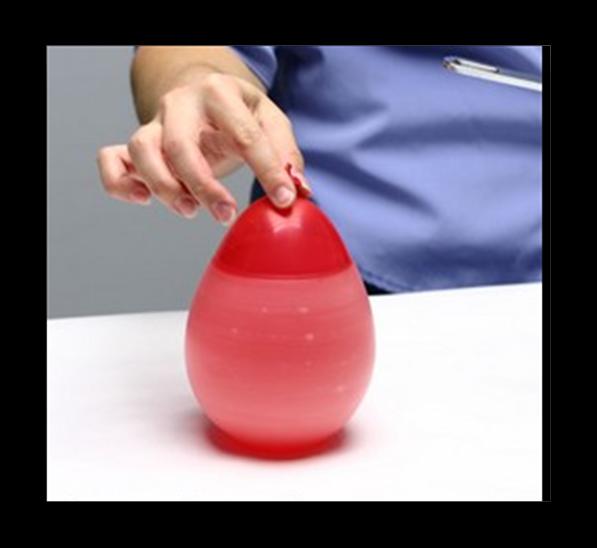
-
6
Drain out the Water:
When waxed balloon cools down, hold it from the backside over a sink and point its nozzle towards the sink. Take a pointed knife or a tooth pick and pop the balloon, this will help in draining out the water from the balloon. Throw away the rubble of the balloon.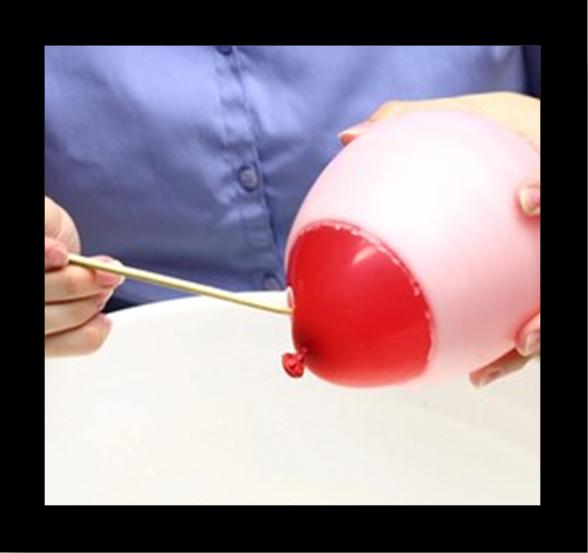
-
7
Level the Edges:
Next you will take a heat proof dish and place it on the stove. Take a wax paper, heat it by placing it in the heat proof dish for a few seconds. Take your candle jar and place it top down on the warm wax paper Carefully melt the edges to level them.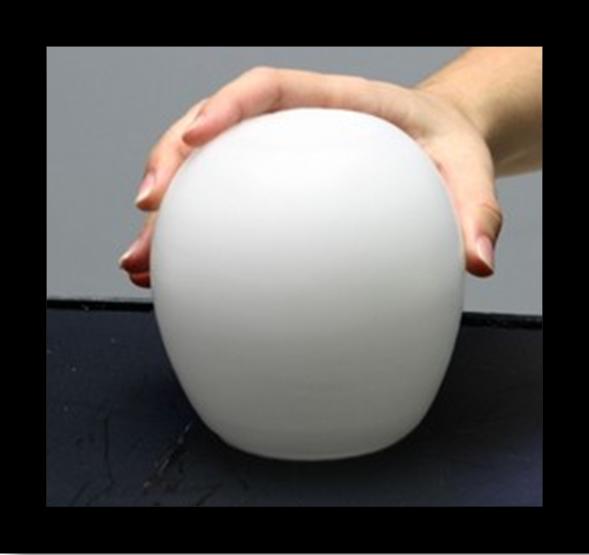
-
8
Tea light or votive:
Place small sized tea light or votive and place in the jar. Now place your cool decoration pieces at a nice location in the house.
Note: You can create colorful Balloon Luminaries by adding a dye in the melted wax.