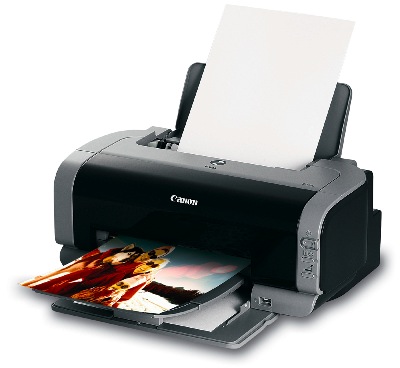
How to Make Your Canon Printer Wireless
Instructions
-
1
Connect the Canon printer you wish to make wireless to a computer which is on all the time and is connected to a wireless network.
-
2
Make sure that the username and password of the computer from which you will be sending the print commands and the computer to which the printer is connected are same. This is important because the computers will need to establish a connection with each other in order to process the print command.
-
3
Install the Canon printer on the remote computer. You will have to install the necessary driver that came with the printer when you bought it. Once the printer has been installed properly, go to the Control Panel on the remote computer and double click on the Printers and Faxes icon. Right click the Canon printer icon and select ‘Properties’ from the drop down list which appears.
-
4
Look for the ‘Sharing’ tab in the ‘Properties’ window which appears. Check the option ‘Share this printer’. This will share the printer across the wireless network. Give the Canon printer a name which is easy for you to remember.
-
5
Assign the remote computer a static IP address and note it down on a piece of paper or memorise it if possible. Turn on the computer from which you intend to give the print commands. Click the ‘Start’ button on the desktop and then click ‘Run’. In the window that pops up, type the IP address of the remote computer after typing \\.
-
6
Your computer will establish a connection with the remote computer. Since the printer was shared across the wireless network, you will be able to view the Canon printer on the window that appears. Double click on the Canon printer icon and you are all set to go. Now whenever you give a print command from your computer, the Canon printer attached to the remote computer will execute the command right away.


