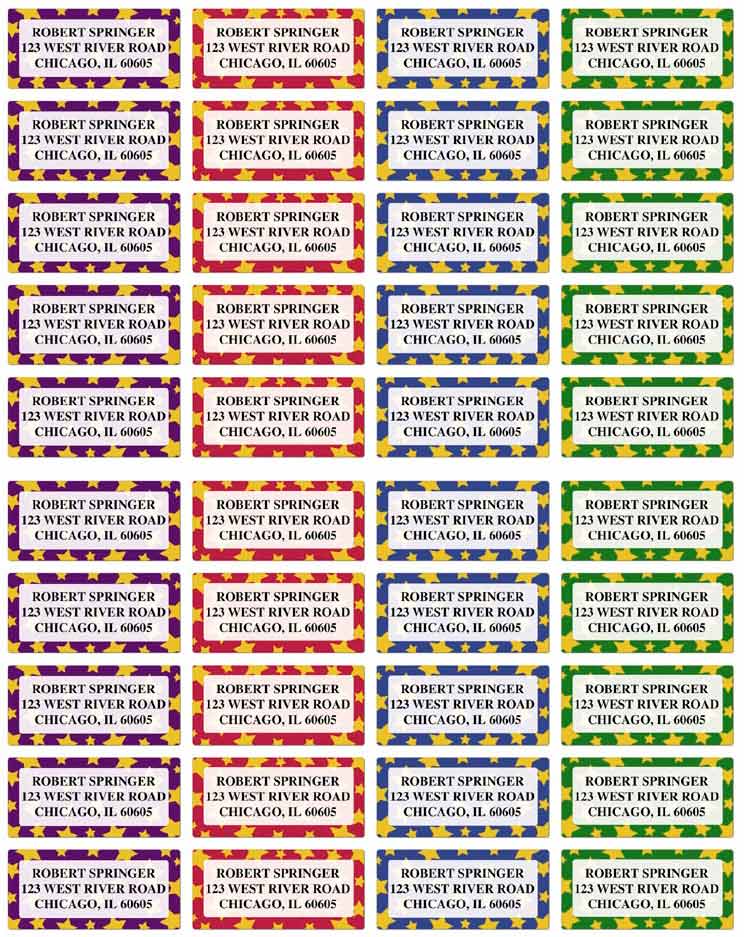
How to Make Your Own Address Labels

A solid postal service is one of the most important systems in any society. Getting important documents and letters on time is extremely critical and is the job of the postal services to make sure that it happens easily.
Every letter has two addresses on it. One is that of the addressee and the other of the sender. Since we have to send a lot of mail ranging from personal letters to credit card bills to various requests, it is best that we have our address labels printed. You can do it yourself and customise them to your liking.
Instructions
-
1
Software
The first thing that you will need to complete the task is a software and label sheets. Generally the software is available with the sheets and you can install the software to make your own labels. -
2
Label Sizes
Pick a size of your liking. You should ideally pick a size depending on the size of your name and address. If you have a long name and address, be sure to pick labels that are slightly bigger than others so that there is ample space to get your information on the label in a clear manner. -
3
Customise
The next step is to customise the labels as per your liking. Enter your name and address into the software in the designated boxes. Make sure that you get in the information and double check it to make sure that you have all the right details in. The next step is to pick a font and colour of your liking. Also, use a decent sized font to make sure that it is clearly readable. Avoid experimenting too much with the colours and the fonts as too fancy a colour or a font can make reading the label difficult. -
4
Print
The last thing to do is to check for everything being correct again and print. It is best that you print several sheets at the same time, particularly if you rely heavily on the postal system. Each sheet will have several labels so you should end up with a stock enough for a few weeks. The next time you need labels, you can design and print new ones to keep things fresh.


