How to Make your Own Crayons

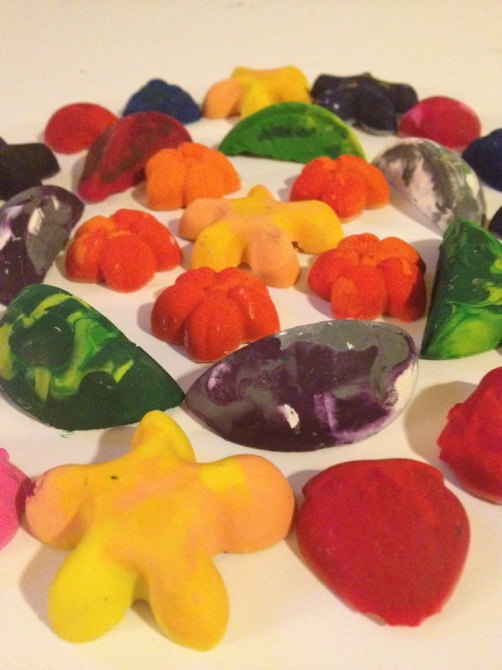
While young kids thoroughly enjoy using crayons, they are easily broken with careless use. Most parents throw the broken crayons away, but you can store them aside till you have enough crayon nubs and broken pieces. Then, using those, you can start making brand new, beautiful crayons in any shape your kid likes. It is easier to make your own crayons rather than buying new ones every now and then.
Things Required:
– Old crayons
– Candy mould, heart or star shaped, depending upon your choice and availability
– Knife
– Cutting board
– Scrap of cardboard
– Oven (preheated at 225 degrees)
Instructions
-
1
Using a knife or your fingers, remove the labels and break the crayon pieces into smaller bits of an inch in length at the most. Remember the smaller the pieces are, the more easily you can fit them into the mould of your preference. So chop your crayons as small as you can, or make shavings with the knife. Be careful when chopping the crayons, do not let the knife slip and cut your hand.
-
2
Mix all the pieces well in a medium size mixing bowl.
-
3
Take a silicon mould that comes in fun shapes and characters and fill it with the shavings. Let your kids set the mould, they would really enjoy it.
-
4
You can make multi-coloured crayons or crayons of a solid colour. For the latter, put one colour in each mould. You can also experiment with the colours, pairing up greens and blues, oranges and yellows, and reds and pinks, to make pretty, swirled crayons.
-
5
Make each section of the mould a little fuller than you feel it should be, because the crayons will settle after melting.
-
6
Place the mould in an oven, preheated at 225 degrees, for 8-10 minutes, or until they are completely melted.
-
7
Remove the mould from the oven and let the crayons cool completely. Once they are cold and hard, pop the hardened crayons out of the mould. If they don’t come out easily, place the mould in the freezer for several minutes and try again.
-
8
Your brand-new fun-shaped crayons are ready.


