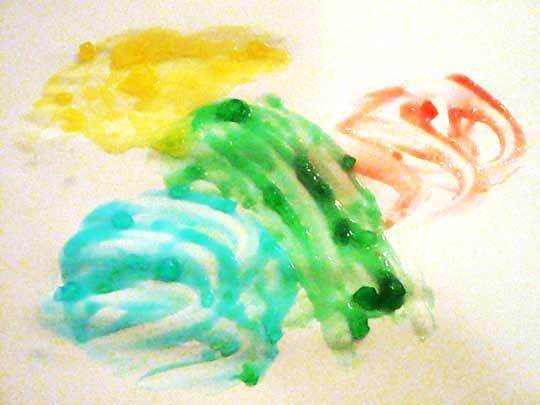
How to Make your own Finger Paint at Home

Finger painting is a fun filled activity that many kids and even some adults enjoy. Most everyone can remember a time when they sat on the floor in front of a nice big white sheet of paper and dipped their fingers in different colour paints to draw out various designs and patterns.
Making your own finger paints is a great way to encourage your kids to tap in to their creative side and enjoy making beautiful works of art. If you want to learn how to make your own finger paints at home then check out these simple guidelines to help you save money and impress your kids.
Things Required
– Flour
– Salt
– Water
– Food colouring or watered-down tempera paint
– Containers (for each colour)
– Finger painting paper or white heavy weight construction paper
Instructions
-
1
First, take a large bowl and put flour along with water in it. Keep on adding water and stir the flour with your hands. After that, you have to add some salt and mix it well. You will have to add salt according to the quantity of flour and water. Furthermore, it is extremely important for you to mix flour, water and salt properly with each other.
-
2
Then, you have to add the food colouring in the mixture. Please note that you have to add the food colouring drop by drop because a little colouring can completely change the colour of the mixture. If you don’t want to use food colouring to make your paint, you can simply use watered-down tempera paint.
-
3
Now, place the mixture aside for a while so that everything settles down. After that, take a piece of plain paper and apply the paint on it with the help of your fingers. You can apply paint in any direction. After applying the paint, let it dry out in order to see the real colour. If it is light, then add some more food colouring and mix it well. On the other hand, if it is dark, you will have to add some more flour, water and salt to equalise the tone.
-
4
After developing the colour of your choice, take a couple of airtight containers and pour the paint in it. Close the lids of the container. You can preserve the paint as long as you want. However, it may get hard after few days, so you will have to add a little water before using it.


