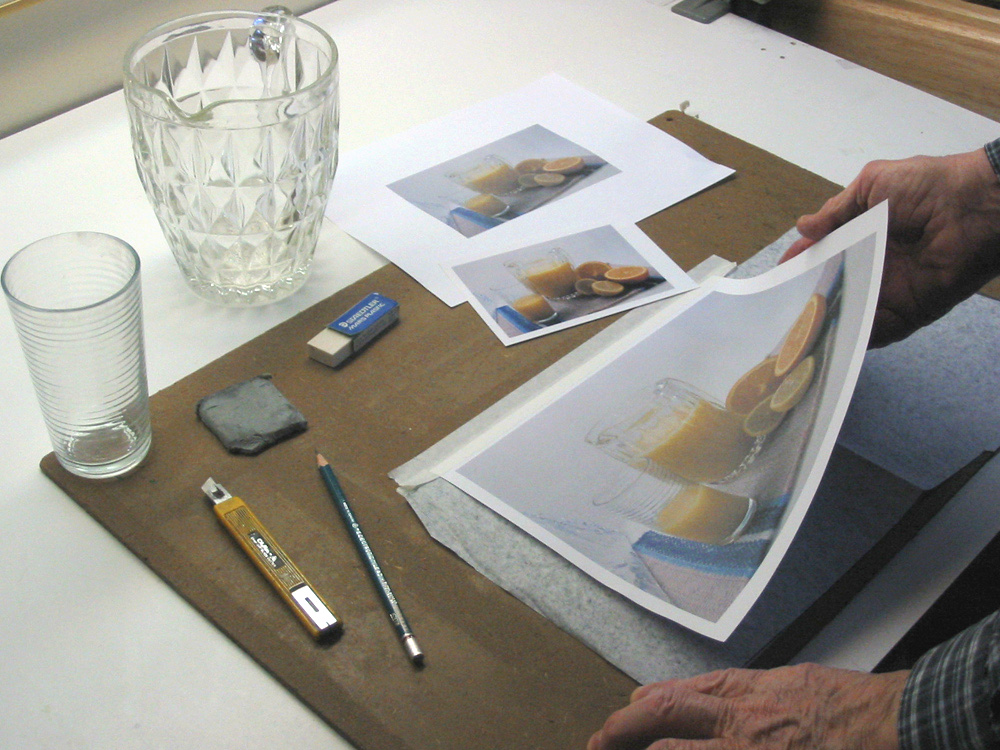
How to Make Your Own Graphite Transfer Paper

You have no valid reason to blame yourself if you are not born with great artistic skills and all your efforts to sharpen up your sketching skills have proven to be in vain.
If you do not have the skill to draw great sketches, you always have the option of copying sketches or pictures that others have drawn. All you need to do in order to accomplish this is a graphite transfer paper. You can go out and buy a graphite transfer paper from a stationary shop, or make one yourself within no time.
Things Required:
– A sharp pencil/graphite stick
– A blank paper
– An image
Instructions
-
1
The first thing that you need to do is to ensure that the image or sketch that you wish to transfer on another surface is on a fairly thick paper. If the paper is too thin, you may end up tearing it accidently.
On the other hand, if the paper bearing the image is too thick, you will not be able to transfer the image clearly. Therefore, the image that you wish to transfer should ideally be on a paper that is neither too thin nor too thick.
Notebook or printer papers are the ideal papers to transfer the image from. -
2
After you have the image on an ideal paper with you, turn it over and start applying the graphite on its back using a sharp pencil or a graphite stick, whichever of the two is available to you.
Make sure the angle at which you hold pencil or graphite stick is such that the side of the lead and not the tip rubs against the back of the image.
Keep rubbing the side of the lead on the back surface of the image until you have a solid layer of graphite on it. Ensure that you do not leave any gaps and that the entire area is covered with graphite, otherwise the transferred image will have gaps as well. -
3
Once you have covered the entire backside of the image with graphite, leaving no gaps whatsoever, place the image on top of a blank paper that you wish to transfer the image to.
Make sure the image side is facing up, while the back, covered with graphite, is in contact with the blank paper. -
4
Use a sharp pencil to trace the outline of the image. Do not apply too much pressure while doing this, as that could possibly tear the image.
-
5
Once you are done tracing the entire image, carefully remove it from the blank paper.

