How to Make your Own Soy Candles

At times, soy candles are very difficult to find and they are expensive too. If you know the right way to do it, you can make your own soy candles. It will not only save you a lot of money but will also save a lot of time.
Things Required:
– A glass jar
– Clean-burning wicks with anchors
– A Pencil
– Double broiler
– Soy wax flakes
– Scented oil
– Wax paper
– A strainer (optional)
Instructions
-
1
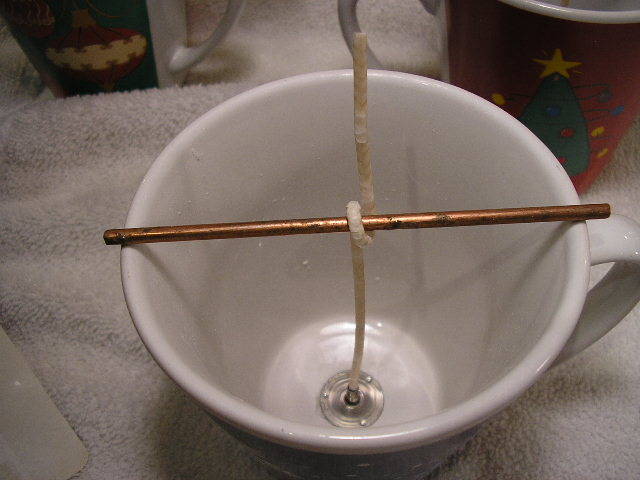
Before you melt soy wax, have candle holder at the ready. To ensure that the candle wick does not start floating when you pour melted wax in the jar, secure the anchor end of the wick to the centre of the bottom of the jar. When you have centred one end of the wick, wrap the other end around a place until you can rest the pencil horizontally on top of the glass jar. You are done setting the station and can now move on to the next step.
-
2
Start a double broiler and bring it to a low boil. Add double the amount soy wax flakes to the in the double broiler as the amount of required wax. For instance, you will add 6 cups of soy wax flakes to the broiler if you need 3 cups of melted wax. The soy wax flakes begin to melt. As the flakes melt, slowly stir them until no lumps remain and the flakes have completely melted. Before you remove the broiler from the flame, add few drops of scented oil of your choice to the melted soy wax.
Image Courtesy: candleandsoap.about.com
-
3
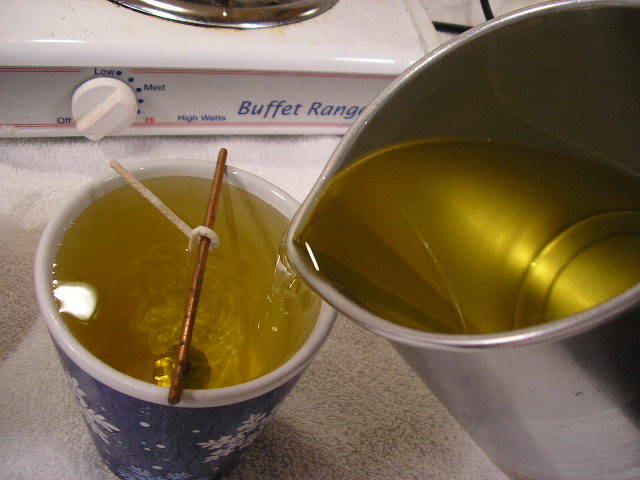
Now it is time to pour the melted soy wax in the glass jar that you prepared in the first step. Carefully pour the melted wax filling about 4/5 of the glass jar. Although it is easy to pour the liquid since it is thick, still you can use a strainer if you feel any difficulty. Make sure you do not displace the pencil holding in place the candle wick.
Image Courtesy: candleandsoap.about.com
-
4
Wait for the melted soy wax to completely harden. Remove the pencil after about 3 hours and trim the candle wick about a half-inch above the wax level. Before lighting your soy wax candle, let it harden overnight.


