How to Move Single or Multiple Objects in Adobe Photoshop

Moving the object to a different background can be done after using Photoshop, which includes work with raster images. The process is quite time consuming as it requires meticulous and accuracy.
Often some completely unnecessary objects or people spoil the picture and you realize that the picture would have been more beautiful and harmonious without their presence. It is necessary to impose one image to another, or to move an object from one picture to another.
If you arrange the text document, edit the 3D-model, process the image file, you may need to know how to move the object.
Instructions
-
1
In order to eliminate unwanted parts of the image, use the handy tool Clone Stamp. It allows you to clone parts of the image and insert it in place of other, masking unwanted items. Upload a photo in Photoshop, for which you will need to remove any object.
-
2
Create a new layer and then click on the toolbar icon to Clone Stamp. Hold down the Alt key and click the left mouse button at the place the photo that you want to make a clone source - for example, the sky, grass or sand.
-
3
Select the desired size of the brush and start painting over carefully once the object in the photo, from time to time changing the clone source while clicking on the desired location while holding down Alt.
-
4
If you painted it too much, create a layer mask (Layer> Layer Mask> Reveal all), press D, to set the default palette, and then adjust the brush softness and handle the parts that are not needed to cover the area of the cloned and white in black mask mode.
-
5
Exit mask and modify photos. Some joints and other small items that are visible only when you zoom in, you can finish a hand in the photo.
-
6
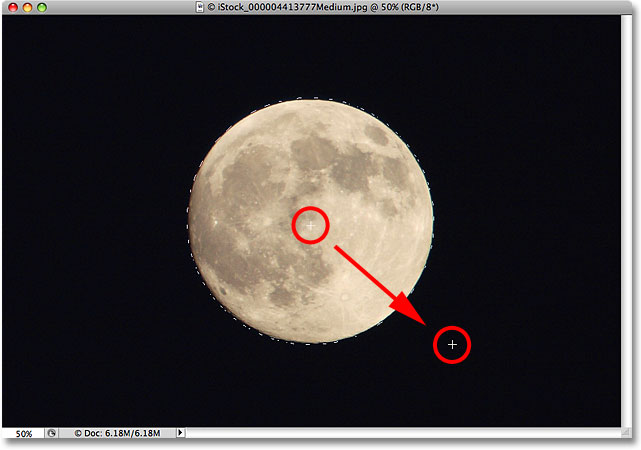
Secondly, you can move the image after selecting the part of the image. Open a photo or image in Photoshop. On the toolbar, select the Magnetic Lasso Tool. Move the cursor to the desired item and circle it.


