How to Open and Close Jump Rings

Making jewellery sometimes requires using jump rings. Even if the jewellery that you make doesn’t require them, it might make your life a lot easier to know how to use them.
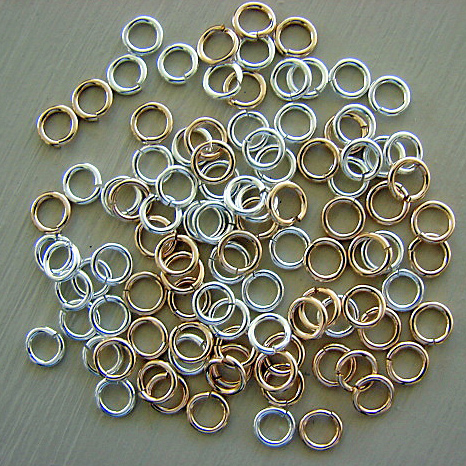
It should be noted that jump rings can be used for connecting different parts of your jewellery, adding clasps, giving motion and even making chains on your own. These small rings come in a wide range of sizes and are only made of a single coil of wire rather than looking like tiny key rings. If you want to learn how to open and close jump rings properly then follow some basic techniques to make it easy.
Things Required:
– Jump rings (according to desired colour and size)
– Two pairs of pliers
Instructions
-
1
First, you need to take two pliers. Here, you should try to prefer using pliers having flat sections which will make it easier to hold the jump ring with. Now take a jump ring or a jewellery item where the jump ring is installed.
-
2
Using the pair of pliers, you need to hold the jump ring. Here, you will have to use the pliers on each side of the small slit in the jump ring.
-
3
Now you have to twist the ring towards you. While doing this, you should always make sure that you do not pull the ring apart otherwise you will not be able to get the ends to match up perfectly. As a result, there will always be a risk that your jewellery can fall apart.
-
4
Your jump ring is now open. You can attach it to the pieces you wish to connect by sliding them onto the jump ring. There must be holes in the items that you want to connect with each other, in order to use jump rings as connectors.
-
5
When you are done with sliding in the pieces you want to attach, it is time to close back the jump ring. For the purpose, grip it in the pliers again (one on each side of the slit). Close by twisting the ring back.
-
6
If needed, you can carefully and gently squeeze a little to make the ends match up properly.


