How to Patch a Hole With Scrap Drywall

You may have gotten rid of an outlet recently such as a switchboard that was installed in the drywall of your room. The hole it left keeps irritating you as it ruins the look of the whole room. You would start thinking of possible ways to patch it.
The best and easiest way is to patch that hole is to use scrap drywall. You just need to have basic repair skills to get the job done.
Things Required:
– Speed square
– Drywall knife
– Pieces of scrap drywall
– Chisel (if necessary)
– Drywall mud
– Joint compound
– Sandpaper
Instructions
-
1
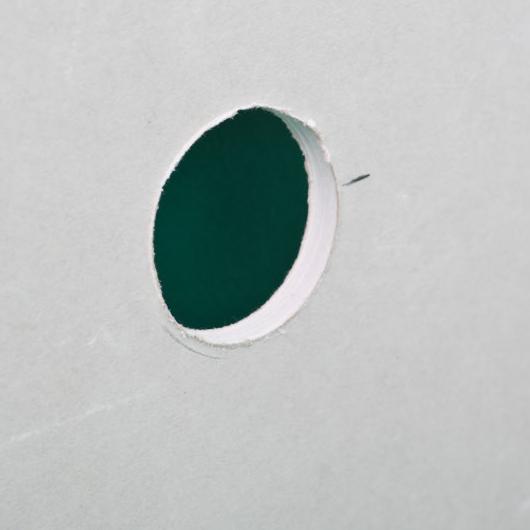
The opening you are going to patch may be of any geometric shape such as oval, circle, rectangle etc. Your work will be easier if the opening was square in shape. Draw a square around the opening-to-be-patched using a speed square.
-
2
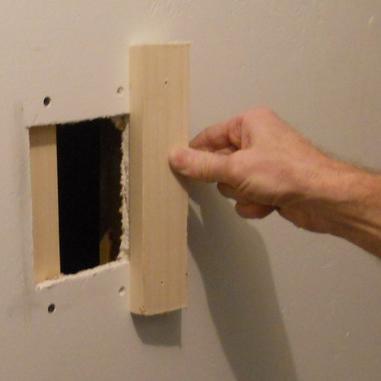
Cut on the boundaries of the square you just drew. Use a drywall knife for the job. When you are done, the hole you are going to fill will be a perfect square and now it will be a lot easier for you to patch it.
Image Courtesy: icreatables.com
-
3
Measure the dimensions of the opening using the speed square.
-
4
Take a piece of scrap drywall which is bigger than the opening you are going to patch. Transfer the measurements you took in the earlier step to the piece of scrap drywall that will serve as the patch. Cut the patch leaving around 2 inches of drywall on each side of the measurements.
-
5
Get rid of the excess drywall that you left in the previous step but make sure that you do not remove the drywall paper on one side of the patch. Use a chisel for the job if necessary to ensure that the drywall paper does not gets torn away.
-
6
Apply drywall mud to the sides of the square opening.
-
7
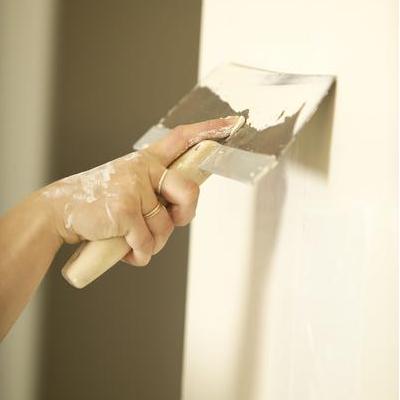
Fit the patch in the opening. Cover the patch with joint compound extending the layer at least a couple of inches on all sides of the patch. Let the joint compound dry. If the surface is not level, apply another layer of joint compound and give it time to dry.
Image Courtesy: diyguides.dremel.com
-
8
Sand the joint compound using fine sandpaper and finally paint the area to finish off the task.


