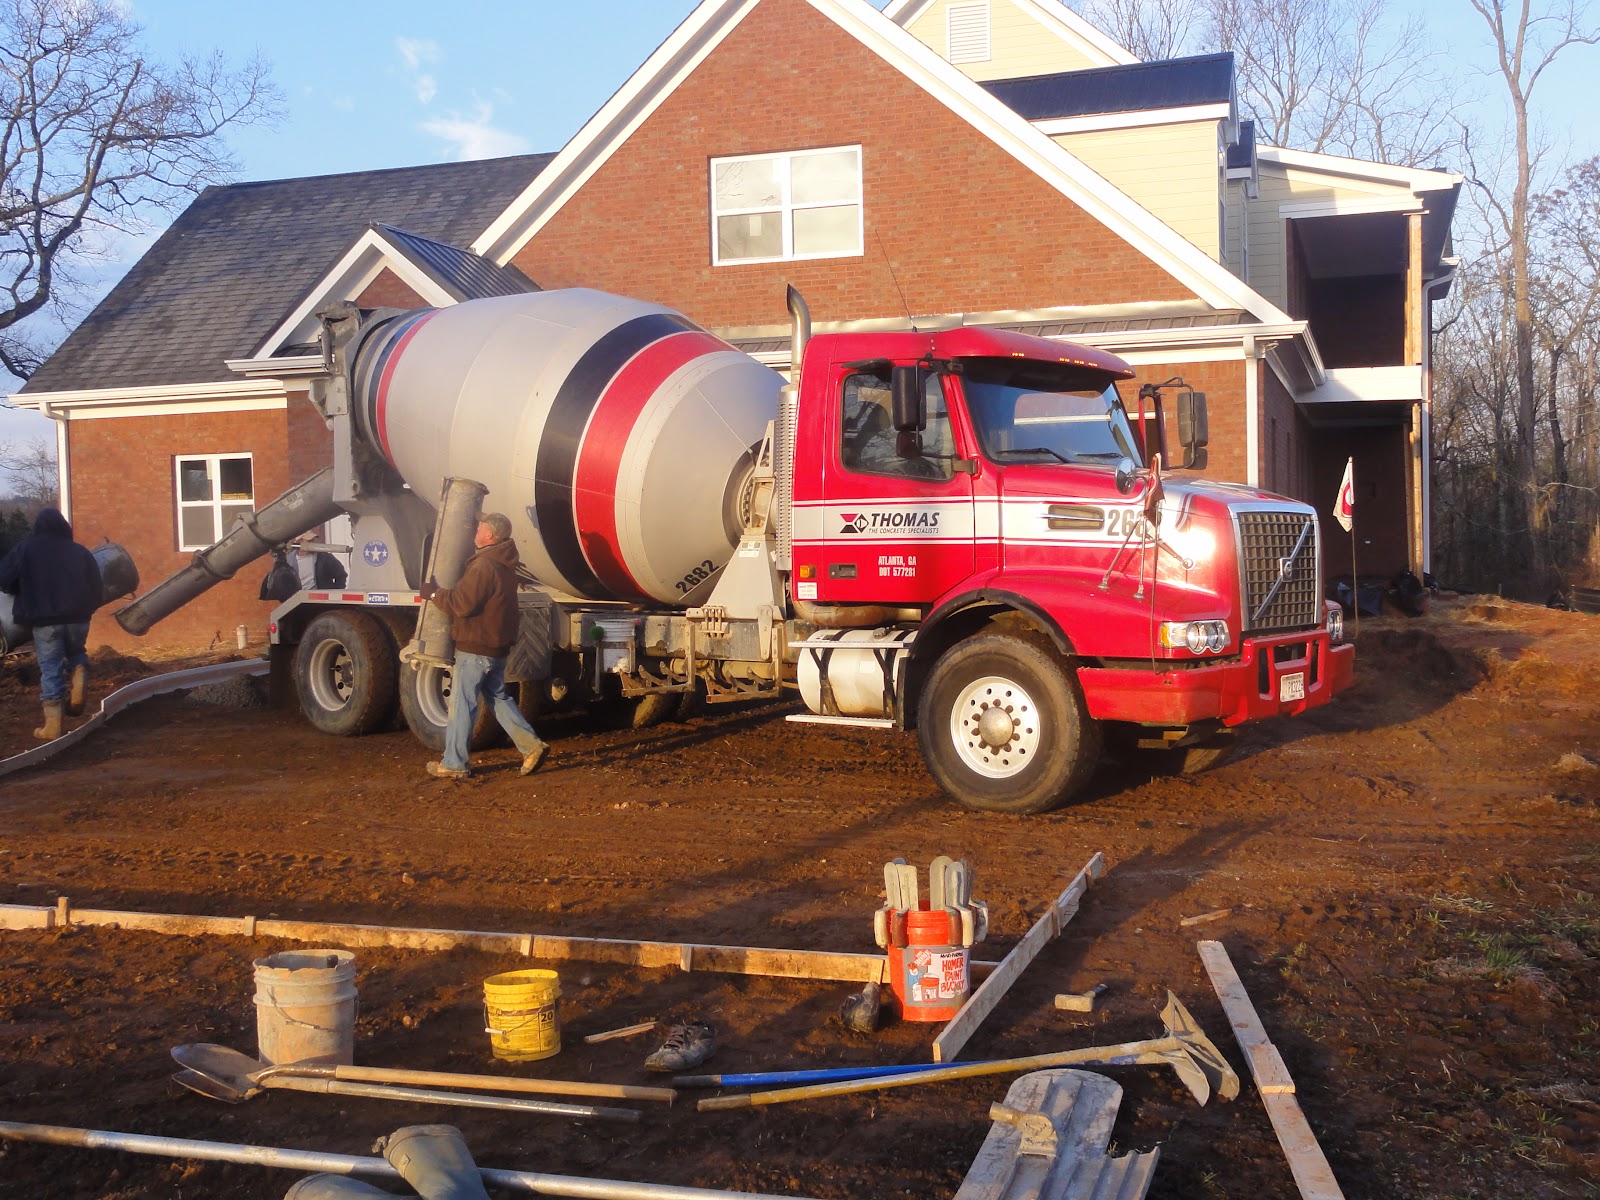
How to Pour a Garage Pad

Garages are mostly use to park your dirty cars, keep tools or store some things. Thus many people simply make cemented floors for garages. Your garages should have a solid base, strong enough to bear weight of your cars. These bases are usually made up of concrete pads because they are strong, easily available and most of all cheaper than other materials. You can pour cement on any shape or size of your garage floor. This process is not difficult but requires a lot of time and dedication.
Things Required:
– Concrete mix
– Wheelbarrow
– Flour large boards
– Metal rods or rebar
– Trowel
– Groves
Instructions
-
1
Build a frame
First you need to build a frame in order to keep the cement fix for your garage floor. Build the frame with simple wooden boards and nail the pieces together. You can also place weight on the wooden boards to keep them in their place. Remember that the frame will also demarcate the area where you are going to pour the garage pads. -
2
Clean the area
You should remove all the dust and debris present on the area you want to pour cement in. Clean out the area properly and even out the surface with help of a trowel. You can use any other tools as well for levelling the surface. -
3
Place the frame
After cleaning out the area where you want to pour the cement, place the wooden frame. -
4
Mix concrete
Next you need to mix the concrete. Place it in the wheelbarrow and then mix. -
5
Pour
Pour the concrete mix preferably from the end of the wheelbarrow. You need to pour it slowly and use a trowel for evening right after you pour. -
6
Place steel rods
Next you should place steel rods or rebar on the edges of the area where you have poured concrete mix. In case the area of garage floor is large then you can place steel rods in the centre as well. -
7
Pour more cement mix and smooth the surface
You need to place the remaining concrete mix over the area and then even it out with trowel. Smooth the surface after that. -
8
Remove the frame after drying the surface
After levelling the surface, let it dry. After drying, you need to remove the frame. It is now ready for use.


