How to Print a File Directory in Windows 7

If you are a frequent computer user, you will know that the files and directory structure on your computer can be very annoying. It is recommended to keep track of what you have on your system by printing out a list of all the files in your computer’s directory.
Luckily, printing a directory listing of each file in the folder is extremely simple if you have the right features added to Windows Vista, XP or 7.
Follow some simple tips and instructions given below to perform this task effectively without needing any help from an expert.
Things Required:
-Computer having plain text editor
Instructions
-
1
Turn on your computer and wait for Windows 7 to load. Enter your user name and password to access the desktop. Find the Start up menu at the bottom left hand of your screen.
Click the Start button and then locate the option that says Search Programmes and files. Type Notepad in the spaced provided and click the appropriate file to launch the notepad application on your computer. You may also choose to open any other plain text editor on your system. -
2
Next create a new and blank file and write the following command into the blank page:
@echo off
dir %1 /-p /o:gn > "%temp% \ Listing"
start /w notepad /p "%temp% \ Listing"
del "%temp%\Listing"
exit -
3
Save the document by finding the Save As option from the File menu in the main menu.
Type "%windir%\Printdir.bat" in the space provided for the File Name.
Press Control and S keys on your keyboard to save this file into the windows directory of your system and close the document.
Open another new and blank document in Notepad or any other text editor of your choice. Write the following command into the file:
Windows Registry Editor Version 5.00
[HKEY_CLASSES_ROOT\Directory\Shell]
@ = "none"
[HKEY_CLASSES_ROOT\Directory\Shell\Print_Directory_Listing]
@ = "Print Directory Listing"
[HKEY_CLASSES_ROOT\Directory\shell\Print_Directory_Listing\command]
@ = "Printdir.bat \"%1\""
[HKEY_CLASSES_ROOT\SOFTWARE\Classes\Directory]
"BrowserFlags" = dword:00000008
[HKEY_CLASSES_ROOT\SOFTWARE\Classes\Directory\shell\Print_Directory_Listing]
@ = "Print Directory Listing"
[HKEY_CLASSES_ROOT\SOFTWARE\Classes\Directory\shell\Print_Directory_Listing\command]
@ = "Printdir.bat \"%1\""
[HKEY_CURRENT_USER\Software\Microsoft\Windows\Shell\AttachmentExecute\{0002DF01-0000-0000-C000-000000000046}]
@ = ""
[HKEY_CLASSES_ROOT\SOFTWARE\Classes\Directory]
"EditFlags"="000001d2" -
4
Save this file as well by clicking the Save As option from the File menu. Type "PrintDirectoryListing.reg" in the space provided for the File Name.
Choose All Files option from the Save as Type option at the bottom of the window. -
5
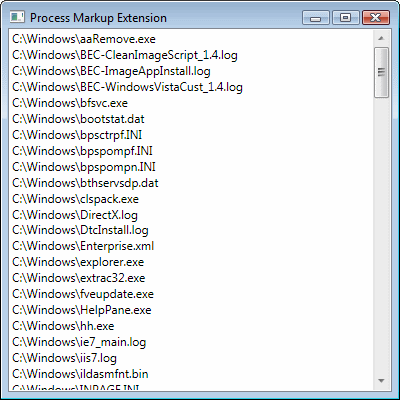
Find the "PrintDirectoryListing.reg" file on your computer and double click on it to confirm the registry. Right click on any folder and choose the Print Directory Listing. Windows will automatically detect all files saved in the directory of your choice.
-
6
Use your default printer to print files.


