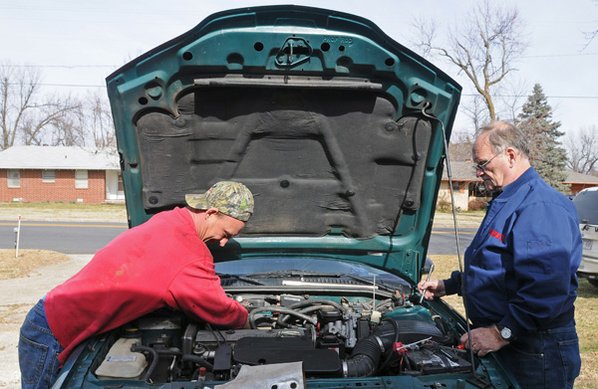
How to Remove a Rack & Pinion

Rack and pinion steering system removal is not a difficult process. However, it consists of several steps that you have to take carefully to remove the system. Give special consideration to your safety and safety of the vehicle, especially if you are not trained at it and doing it yourself for the first time. It is highly recommended to get it professionally done. Since the process evolves before and after removal, carefully perform each one of them.
Instructions
-
1
Vehicle Position
You will need to raise your vehicle before start your work. So raise the vehicle securely on the jack stands. -
2
Front Wheels Removal
After raising your vehicle, remove both front wheels to clear the space for removal of the rack and pinion. -
3
Steering Coupler Removal
Steering coupler is located near the steering column. It is concealed in a plastic boot. You can lift the boot which is held by a bolt. You can take the bolt out, it can easily slide away to the side and will release the boot. Although the plastic boot will not come out completely, it should be left as far as it can come. It nevertheless releases the rack automatically. -
4
Power Steering Lines Removal
Remove the power steering lines. You can use a right size wrench to loose the bolt of the lines and remove them from their positions. By using a wire cutter you should take off cotter pin from the tie rod and then take off nut on the end of the tie rod. Insert a tie rod tool in the middle of the tie rod and spindle and hit it with a hammer. It will come out with a couple of hits and will remove the tie rod. -
5
Rack Removal
You can then remove the rack, which is tied with the frame either with the c-clamp bolts or bolts stuck through the holes of the rack into the frame. In either case, you will need to take out the bolts and this will release the rack from the frame. If the rack sits on the top of the vehicle you will need a little movement and it will come out of the vehicle without any problem.


