How to Repair Chips in a Garage Floor

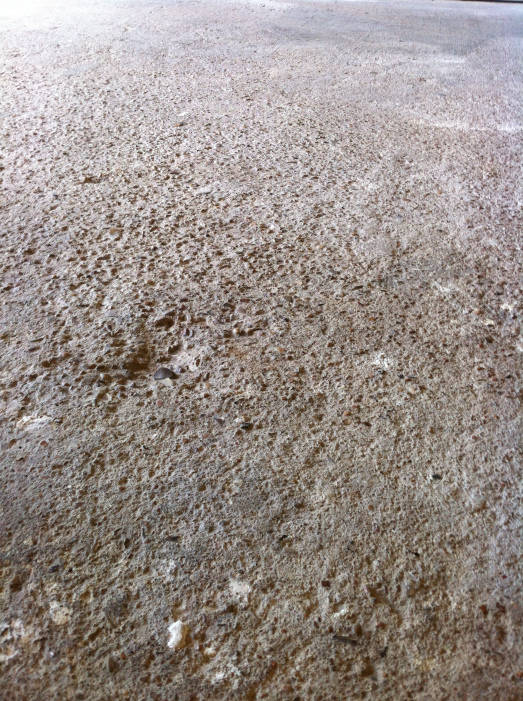
In most cases, garage floors are made of a concrete slab. Just like any other material, concrete also undergoes wear and tear over the passage of time. Chips may occur in the garage floor when the damage starts. If not repaired properly, the chips will eventually widen to form cracks or even holes in the concrete floor.
If the floor in your garage needs some chips repair work, you should do the job yourself because filling the chips with a strong material is all you will be required to do.
Instructions
-
1
A properly cleaned surface is the first important thing for successfully repairing chips in a garage floor. Wash the floor with a mild detergent to completely get rid of dirt and debris. In order to get rid of grease and oil stains, scrub the floor with a degreaser and then wipe it clean.
-
2
You will need to fill the chips with concrete patch compound. Prepare the appropriate quantity of concrete patch compound in a bucket and carefully pour the compound over the chipped surface. Make sure you cover your face with a gas mask before preparing the compound.
-
3
For bigger and deeper chips, you will have to use a levelling compound. Before you pour levelling compound, prepare the surface by applying a layer of bonding adhesive to ensure that the levelling compound adheres properly to the damaged concrete surface. Cover the larger chips with a uniform layer of levelling compound. Pour excess levelling compound so that it can penetrate within the chips, making the repair work more durable.
-
4
With a trowel of a flat edge, level the repaired surface so that it blends properly with rest of the concrete floor and the patchwork does not look out of place. Wait until the repairing compound is completely dry and then seal off the patchwork by applying a layer of concrete sealant to make sure that the repair lasts for a longer period of time.


