How to Repair Large Holes in Drywall
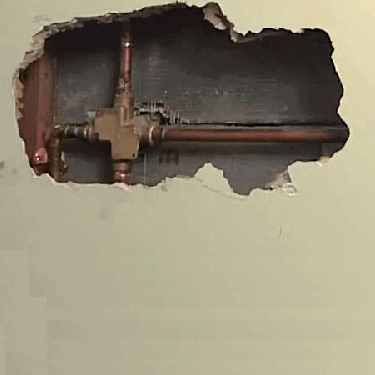
Irrespective of their size, holes in drywalls look very ugly. A single drywall hole in a well furnished and decorated room is enough to spoil the look of the room.
Repairing large holes in drywall can be a difficult task at times. You can either hire a professional to do the job for you or you can do it yourself and save some invaluable money.
THINGS REQUIRED:
– Stud sensor
– Carpenter’s square
– Utility knife
– Drywall saw
– Drywall knife
– Joint compound
– Fine Sandpaper
Instructions
-
1
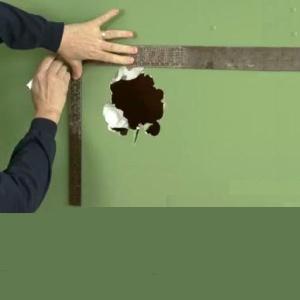
Using a stud sensor, locate and mark the nearest stud on both sides of the hole that you are going to repair. After you have marked the studs, draw a boundary with 90 degree corners around the hole. Make sure that you draw all the way to the nearest stud on both sides.
Image Courtesy: parentdish.com
-
2
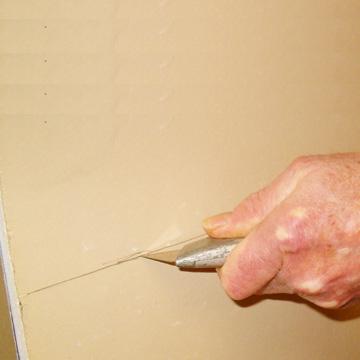
Deeply score the boundary you made in the earlier step with a utility knife. Then cut out the damaged area using a drywall saw. Clean the edges of the hole you just created with a utility knife.
Image Courtesy: todayshomeowner.com
-
3
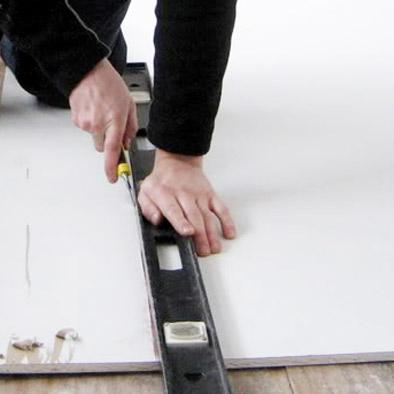
Now you need a new patch of drywall having the exact dimension as the hole in the drywall. There are two ways to do this. In case the damaged area that you cut out in the earlier step came out in one piece, use it as a template to cut the patch from the new drywall panel. Otherwise, you will have to measure exact dimensions of the hole in the drywall and use these dimensions to cut the new patch.
Image Courtesy: diylife.com
-
4
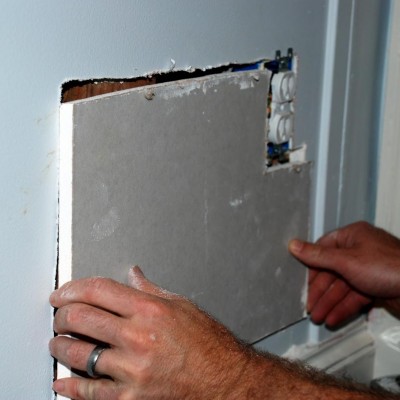
If necessary, cut out sections to allow space for outlets in the patch.
-
5
At the edges of the opening, cut 2x4 cleats. Make sure the cleats fit alongside the studs. Drive 3 inches screw, around 4 to 6 inches apart from each other, in the cleats flush to hold it in place.
-
6
Locate any exposed studs and mark their position on the wall or ceiling near the opening. Place the patch of new drywall in the opening. It must fit properly. Secure the patch of drywall using drywall screws. Start at the middle and work your way to the sides of the patch.
Image Courtesy: ourlittlebeehive.com
-
7
Fill joint compound in the seams and let it dry. With fine sandpaper, sand the area when the compound dries. Apply another coat of joint compound if necessary.


