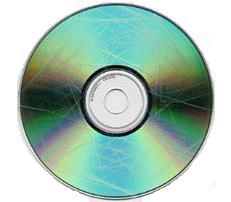
How to Repair Scratched DVDs

Scratched DVD’s are something that all of us have either fallen victim to or accidentally caused at least once in our lives. As you well know, scratches cause the disc to skip or worse not work whatsoever. Rather than throwing them out or trying to get them repaired by a third party, why not try to repair them yourself?
First things first, the method outlined is not fool-proof and most likely will not be able to help situations where it looks like Cujo attacked the disc.
Things Required:
the scratched DVD (bottom side is what is to be cleaned)
a microfibre or jewellery-polishing cloth
car wax
Instructions
-
1
Wipe the Disc
Using a clean microfibre cloth, wipe the DVD thoroughly. Be sure to hold the DVD from the outside edges and wipe from the inside of the disc to the outside using long gentle wipes. Using this method, work your way around the DVD until clean.
Note: Avoid circular motions as well as wiping from one end of the DVD to the other. -
2
Try the DVD
More times than not, wiping the DVD clean is enough to have it working. Try the disc to see if it has been fixed. If that is not the case and it is still causing you issues, move on the next step. -
3
Wax On
Apply a little bit of the car wax to the scratch or scratches and buff them using your microfibre cloth. Use the wiping technique mentioned in Step 1. Be sure that the wax has permeated the scratch and that the buffing has filled it evenly and fully. -
4
Rinse and Wait
Using cold clean water, rinse the disc well. Dry it with your cloth making sure to once again wipe it as instructed above. Allow the disc to sit for 24 hours in order for the wax to take effect. Keep the disc out of direct sunlight and avoid dusty areas. -
5
Try Again
Go ahead and pop that bad boy back into your DVD player or drive. It should now be working well. If that still is not the case, we encourage you to try the wax treatment once again.
If this still does not work, it may be time to cut your losses and dispose of the disc.


