How to Replace a Doorbell

Is your door bell too annoying for you that you are planning to replace it with a new one? Whether your door bell ring is exasperating you or it has stopped working, replacing it is so easy that even an ordinary person can do it. This is one of the simplest house maintenance tasks to perform on one’s own without hiring professionals.
All you need to do is to make available all the necessary equipment including a new door bell kit.
Below is a guide that will lead you through this task and also identify things needed to perform it.
Things Needed:
– New Door Bell kit
– Screw Driver
– Wire Strippers
Instructions
-
1
Turning the power off:
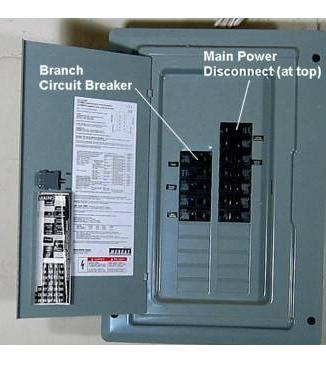
In order to avoid any mishap, its highly recommended to turn off the power from the main switch board of your house before getting started.
-
2
Pulling out the previously installed door bell:
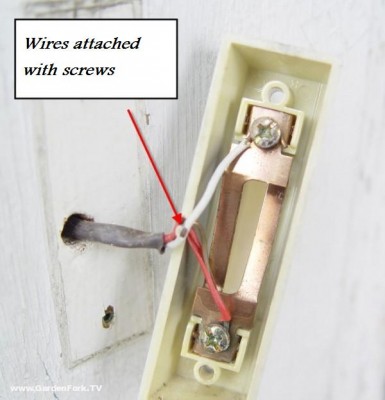
After turning the power off, comes the door bell removal process. For this pull out the screws from the outer plate of the door bell using a screw driver. Behind the plate you will see a web of wires. Use wire strippers to cut the wires that are combined together with a clip. For the wires that are held together with the screws, use a screw driver to groove them out.
-
3
Installation:
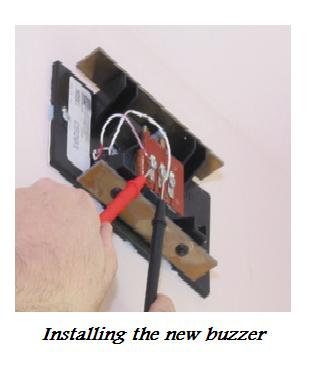
Now that the old bell has been removed successfully, the next step is to install the new bell which is also very simple. First connect the wires with the new bell, so for this strip off about half inch of the wires with the wire strippers and then join them with the connectors of the new bell.
Once the wires are connected simply groove in the screws to attach the door bell plate back. The new door bell has now been replaced. Turn the power on and don’t forget to test out that the bell is functioning.


