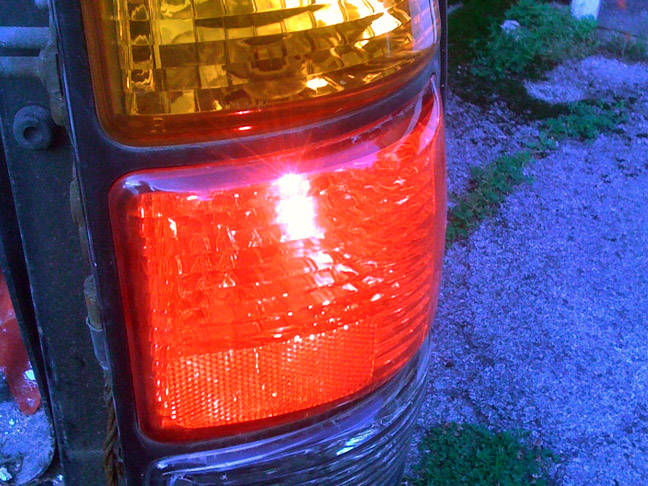
How to Replace a Tail Light Cover

Tail lights, also known as brake or reverse lights, are located on each corner at the rear of your vehicle, and light up when you signal a turn, apply brakes, or shift to reverse. Since these lights are made up of coloured plastic, overtime they fade out and become brittle. However, the good thing about these light covers is that they are interchangeable.
Before 1940s tail light covers were non-interchangeable, but for the ease of users, manufacturers decided to modify the brake light lenses. You can always consult a professional auto mechanic to change a discoloured or broken backlight. However, you can also replace one yourself if you have the time and the tools.
Things required:
– A new tail light cover
– Screwdriver
– Socket set
– A small bowl (to keep screws and bolts, ensuring you don’t lose them)
Instructions
-
1
Unscrew the back light cover
Check your damaged back light for screws and remove them using a screwdriver. Car models built in 1970s and before have external screws holding the lights. However, the vehicles manufactured after 1980 have the screws on the inside. -
2
Remove bulb holder plugs
To separate the tail light from the car, remove the plugs holding the bulb. Disconnect the wiring harness before removing the plugs. Once you have removed the plugs, pull the back light assembly out from behind. Compare the damaged tail light assembly with the new one to be sure you have bought the correct one. -
3
Install new tail light
Determine whether the lens alone can be replaced; most of the cars these days require full replacement. You can also confirm it from the manufacturer’s catlogue. Replace the lens or the entire assembly depending upon the make and model of your vehicle. Install the news lens and fix the tail light by tightening the mounting screws and nuts. Reconnect the bulb plugs as well the wiring harness. -
4
Check the light
Once you are done installing the new light, check it for proper operation before getting back on the road.


