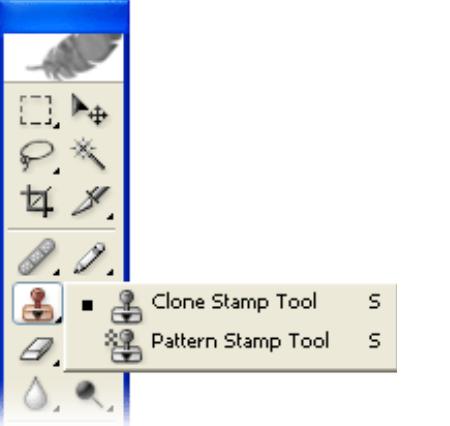
How to Retouch a Photograph Using the Clone Stamp in Photoshop

If you are done with editing photographs using Adobe Photo image editing software and still find some unwanted dirt, scratches or problem areas in the pictures, then you can use clone stamp tool to fix the issues. The clone stamp tool uses pixels from one area of the picture and paste it to another portion of the image.
Therefore, you can use it for retouching purpose, especially when you are finding it difficult to improve a particular area using Healing Tool. It is really easy to use the Clone Stamp tool in Adobe Photoshop, provided that you know the right steps.
Instructions
-
1
Run Adobe Photoshop program and open the image you want to be retouched using the "Clone Stamp" tool. If you want to apply the tool from one photo to the other, then you will have to open two images. One of the two images will be used as the clone source layer and the other one will be used as the destination layer.
-
2
From the main toolbar, click the stamp tool. The tool bar is the same bar which you use to select brushes, their sizes and opacity percentages.
-
3
Now you will have to select the area from where you want to copy the pixels. If you are a Windows user, then you will have to press and hold the “Alt” key, while selecting the source area using left mouse button.
On the other hand, if you are a Mac user, then you will have to press and hold the “Opt” key while selecting the source area. Right after you press the “Alt” or “Opt” key, you will notice your cursor changing to the Clone Stamp tool. -
4
Once you are done with selecting the source area, go to the destination point. Now click and drag using your left mouse button and you will see crosshair image moving along with the brush cursor. Release the mouse button to stop your brush stroke. In order to resume from the last stroke, you can press the shift key and start drawing again.
-
5
After you are done with getting rid of the unwanted problem areas, you can save your image by going to the “File” menu and click the “Save” button.


