How to Save an Image from an MMS, on an HTC Desire

One of the features commonly used these days in smartphones is their ability to take, send, receive and share pictures and videos. Cellphone makers all over the world are spending big bucks on developing newer and better camera phones. Apple Inc.’s iPhone is the market leader when it comes to these devices and its camera is by far one of the best out there.
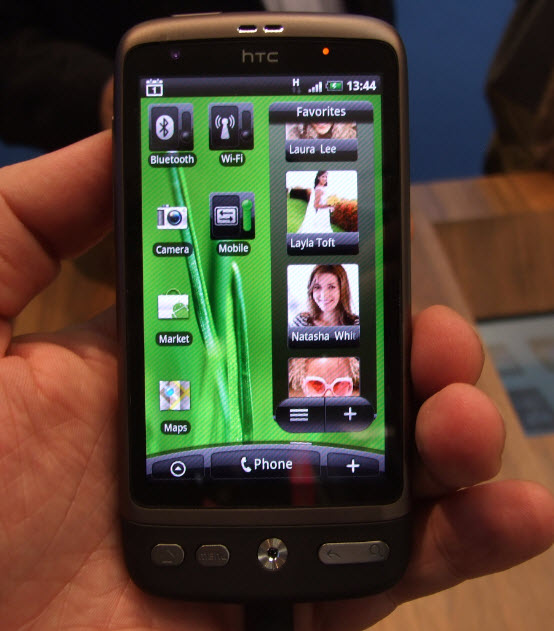
HTC Desire is a smartphone launched by HTC in February 2010. It features an AMOLED capacitive touchscreen with 16 million colours. The size of this HTC smartphone is very compact, at just 119 x 60 x 11.9 mm. It has plenty of features ranging from multimedia to business. This device features a camera boasting 5 megapixels with a maximum resolution of 2592 x 1944 pixels. It also has added benefits of autofocus and an LED flash to light up dark areas in your pictures and videos.
In addition to this, you can share pictures and videos on this device via many options like email, Flickr, Facebook, Twitter and even MMS. In this article, we will now tell you how to save images on an HTC Desire from an MMS.
Instructions
-
1
First of all, go to your Messages option on your smartphone. You can see this option on your main homescreen. If it is not there, you can locate it through your app drawer using the main menu button.
-
2
In the Messages option, open the MMS that you have received.
-
3
Once you open the message, you will see an option of Slideshow, tap that to view the image.
-
4
After you open the image, tap again on it and you will get three buttons at the bottom. You need to select the button which is on the far right side of your screen. Tap that.
-
5
Tapping the button will give you a list of all the image(s) that you have received on your device. For the image(s) you want to save, check the checkbox with them and then tap Done.
-
6
There you go. You have now successfully saved an image from an MMS on your HTC Desire. You can view this image in your Gallery under the Photos folder.


