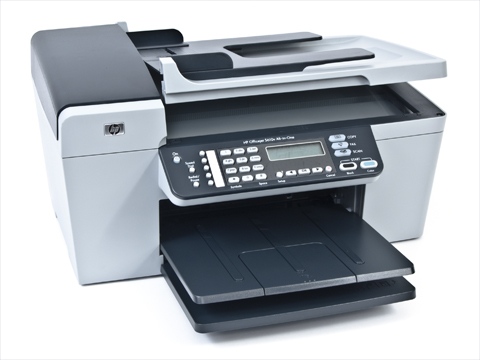
How to Scan a Document on an All-In-One Printer

If you have an all-in-one printer, then you have the facility to scan your documents, modify them on your computer and then take a print out of the edited copy using the printing facility. The scanning feature of the all-in-one printer allows you to convert a hard copy of the document to the soft copy, which you store on your computer.
You can scan any type of document that you have, and then use it according to your needs. You can send the soft copy of the documents in the emails as attachments or you can just create an electronic backup of the files that you have with you.
Instructions
-
1
Connect your all-in-one printer to your computer, using the Universal Serial Bus (USB) port. Connect both the computer and the all-in-one printer with the power source and turn them on.
-
2
Now, lift the lid present at the top of the printer. It will make the scanning glass surface to appear in front of you. Carefully examine the inner side of the lid and the surface of the glass for any dust particles or fingerprints. If you find dust or any other thing that can make the document blur when scanning, remove it by using a clean cloth.
-
3
Now, place the face of the document down on the glass and align it, using the alignment markers present at the sides and upper side of the glass. After you correctly align the document to square it up, close the lid, so that the document does not change its position while scanning.
-
4
Select the scan resolution for your document. The higher the resolution you set, the sharper and detailed image you will get for your document. You can do it on your scanner or it can also be done from the scanning software. Press the “Start” or alternately “Scan” button present on your all-in-one printer. You can also do it on your computer.
-
5
The scanning process will start and the preview of the image will appear on your screen after the scanning is completed. If you do not see the preview, then your scanning software may not have the option to automatically show the preview of scanned file. You can then click the “Preview” or any other alternate button to preview the image.
-
6
You can then make any changes to the document you have scanned and save it on your computer’s hard disk.


