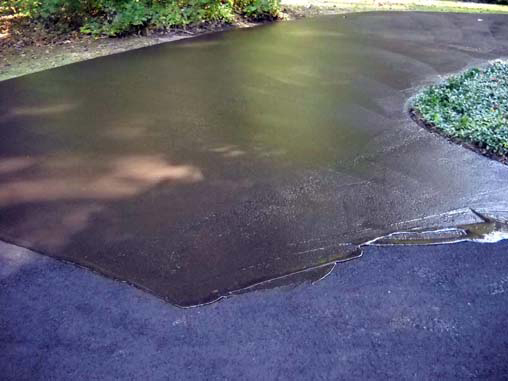
How to Seal an Asphalt driveway

Seal coating your asphalt driveway not only improves its overall appearance but can also help provide some level of preventive maintenance. Since your asphalt driveway is a major investment and part of your house’s value, the work you put in to extend its life will be worth it in the long run. The best time to start your sealing project is before winter arrives.
Tools required:
Heat gun
Trowel
Putty knife
Garden hose
Squeegee/broom
Heavy Tapper
Materials / Parts:
Asphalt cleaner
Asphalt patcher
Asphalt sealer
Instructions
-
1
When starting an asphalt driveway sealing project, first you must remove any debris and dirt from any holes with a shop vacuum. Flush the holes with a garden hose and spray nozzle.
-
2
Poor asphalt patching material into the whole. Warm the patch material with a heat gun and level smooth the patch with the trowel.
-
3
Using a heavy tapper, pound the patching material so it is firmly packed into the hole.
-
4
Use a trowel to smooth out the patched area and prevent further water damage.
-
5
Now that the driveway is patched, clean the slab with an asphalt cleaning product to remove oil and dirt from the surface. Rinse the slab with a hose or power washer.
-
6
Patch any cracks in the asphalt using caulk gun and a tube of asphalt patcher material. Also keep in mind large cracks me need several applications to fill.
-
7
Spread in smooth out the patch material with a putty knife. Dip the knife in cold water or paint thinner to prevent it from sticking to the material.
-
8
Pour a pool of sealer on the slab spread it, following manufacturer's directions. Too thin the layer will not cure properly so, it is better to apply to Coats.
-
9
Allow the sealer to cure before driving or walking on it. Block the driveway with posts and a rope or even a ladder to prevent traffic while the sealer is drying.


