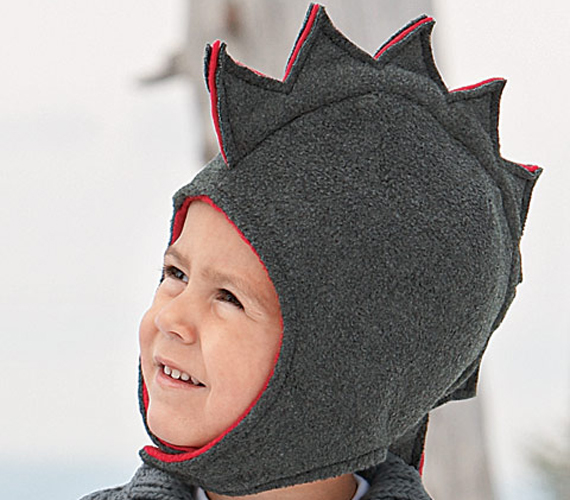
How to Sew a Fleece Stocking Hat

Regardless of the age, a fleece hat adds plenty of cuteness to an individual’s personality. This fabric is available in multiple colours, and by taking just a few simple steps, mothers can sew really good hats for their kids.
The bright colours and beautiful patterns make fleece a great fabric for blankets, sweatshirts, outerwear, mittens and hats. Hemming is entirely optional, because this synthetic fabric has woven nature. However, if you want to sew anything, it will not be a hard task.
In order to avoid getting cold, you must wear a hat in winters. And nothing is better than a fleece cap. It will not only keep your head warm, but also add a great style to your dressing.
Things Required:
– Tape measure
– Scissors
– 1/2 yard of polar fleece
– Pins
– Sewing machine
– Matching thread
– Pinking shears
Instructions
-
1
First of all, you should measure the head of the person you are making it for.
-
2
Take a neat piece of polar fleece, and cut a rectangular. You have already measured the length. As far as the width is concerned, it must not be more than 18 inches.
With dimensions of one inch by 12 inches, cut a long but thin rectangular. For now, set the smaller rectangular aside until later. -
3
Now, its time to give the fabric a hat look. For this, you need to bring the width edges together. One thing that you need to ensure here is that the right sides should be facing in. After bringing the edges together, match up the corners and edges.
-
4
Time to use the needle. Using a 1/2-inch seam allowance, sew the width edges together.
-
5
Now, turn the fleece tube right side out. With the help of the pinking shears, cut a decorate edge. It totally depends on you, that what style you want to give to your hat.
-
6
At this movement, the bottom pinked edge of the tube must be folded up about 1 to 2 inches. It is always better to place the tube on your head to get an idea about the fitting. However, if the person whom you are making it for is not available, you will have to trust your measurements.
-
7
The next step is to attach the smaller rectangular that you cut earlier. It must be tied into a tight double knot.
-
8
Use the scissor to cut the fabric above the point. Make the cuts half-inch apart. You hat is ready to wear.


