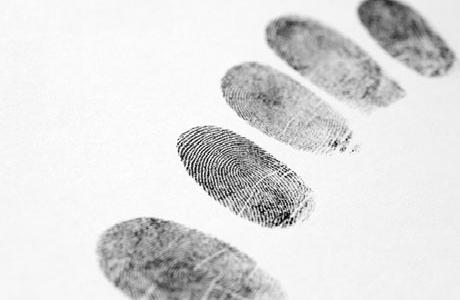
How to Take a Fingerprint at Home

Taking fingerprints may sound like something that only the police or law enforcements agencies can do. However, this is not true because following a simple technique, fingerprints can be taken at home too. Whether you are taking fingerprints because it is your hobby or just for fun, you will not have to spend more than a few minutes. Moreover, it is possible to take complete handprints following the same method as the one used for taking fingerprints.
Things Required:
– Tape (preferably clear scotch tape)
– Sharpened pencil
Instructions
-
1
Sharpen a pencil and rub its lead onto a piece of paper until a considerable quantity of pencil shade has been transferred onto the paper. There is no restriction on the colour of the pencil you need to use.
-
2
Vigorously rub the desired finger onto the patch that you created in the previous step. This will transfer pencil lead particles onto your finger. If you want to take fingerprints of more than one finger, it would be best to take the prints of one finger at a time.
-
3
Ask a friend to cut out a piece of tape for you. It would be best if the tape you use is clear scotch tape because it will enable you to see the fingerprint more clearly.
-
4
Carefully place your finger onto the sticky side of the tape and press it. Ensure that the piece of tape sticks properly onto your finger and that there are no air bubbles in the tape.
-
5
Take off the tape as gently as possible. You will see the fingerprint transferred onto the piece of tape.
-
6
Affix the piece of tape with your fingerprint onto a piece of paper. This will make it easier for you to study the fingerprint if required. Moreover, your fingerprint will stay intact for a very long period of time. Make sure that the colour in which you took the fingerprint is easily visible on the piece of paper. For instance, if the fingerprint was taken in black colour, the piece of tape with the fingerprint should be affixed to white paper.


