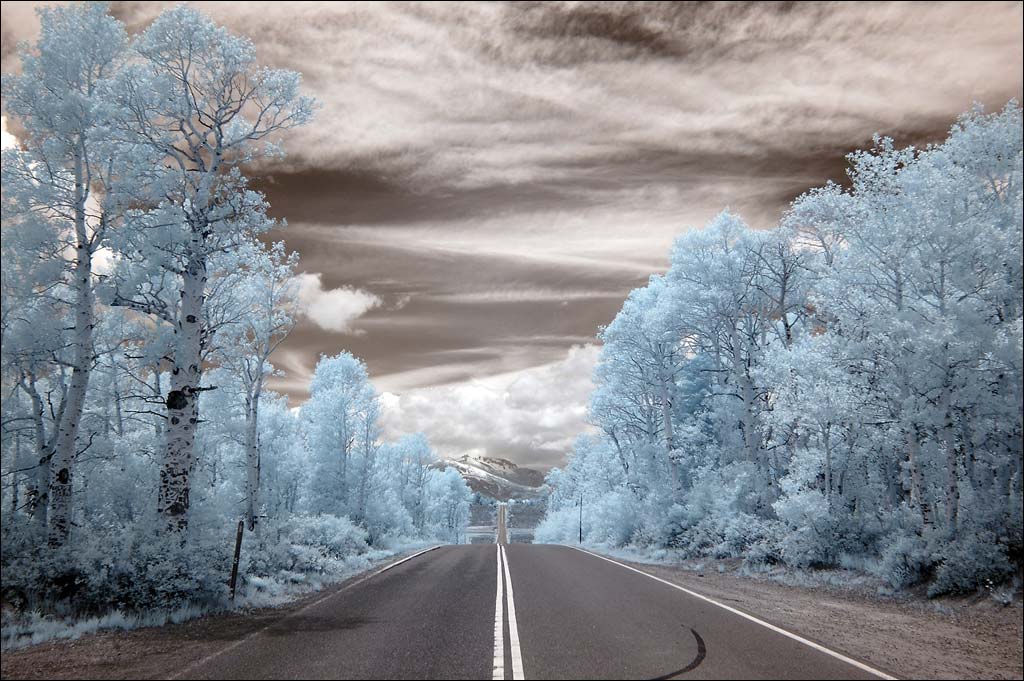
How to Take Infrared Photos with a DSLR Camera

DSLR Cameras, also known as Digital Single Lens Reflex Cameras are the most used cameras these days by most of the professional. The modern digital technology combined with some of the more professional options provides its users the opportunity to capture their desire photographs more efficiently. These cameras also have the tendency to capture Infrared photographs. However, you’ll need special filters known as Infrared filters for that purpose.
Instructions
-
1
Infrared Filters are something that you need in order to capture Infrared lightwaves. These lightwaves cannot be seen with the naked eye and therefore this filter is required to capture them and create some of the most amazing photographs you’ve ever seen. The filter specializes in blocking almost every kind of light, allowing only the infrared lightwaves to pass through this filter. This allows your camera to capture them. Mount this filter in front of the lens you’re using and your apparatus is ready to be used.
-
2
Switch your camera shooting mode to Manual Shooting Mode. Whatever mode you’ve been using beforehand you’ll need to switch to the manual mode if you want capture some infrared lightwaves, as cameras are not programmed to capture this particular type of lightening in their other function modes. This option is often represented by the letter M in most DSLRs.
-
3
Decrease your DSLR’s aperture to its maximum. You can easily select the aperture and set it to the maximum in camera settings. More often it’s F 20 or F 22 that’s used for infrared photography instead of the usual F 1.9-8 in digital SLR cameras.
-
4
Decrease the aperture of your camera to the maximum. The aperture is represented by the focal length in the camera. Move it to maximum so you can provide greater field of depth along with allowing only the minimum light to pass through the lens onto the camera sensor.
-
5
Increase the shutter speed of your camera to its maximum. Ensure that the shutter speed is in-between 15 to 30 seconds. However, if you have a manual or remote shutter release then you can also set the shutter to ‘Release’ or ‘Bulb’ which allows you to take the picture with a maximum exposure. This lets the camera sensor exposed to light for as long as you hold the shutter button.
-
6
Framing the picture is an important task. Compose the picture keeping in mind all the basic principles of photography. Moreover, make sure that your camera would be able to capture enough lightwaves under the current composition. These all factors are very important for capturing the perfect picture.
-
7
Once you’ve set-up everything you need to have a quick check once more. Take a test photograph with your default settings to see if they work okay. If you’re getting the desired result then move on taking your final shot using the same settings. Press the shutter button and hold it until you’ve spent enough time for the sensor to capture the necessary light required for the infrared photograph.
-
8
Upload the picture to your computer for post-processing once you’re done with the shooting. Post-processing is an important phase in this process as you would need to highlight the infrared lightwaves in the picture using the levels and the colour toning. Moreover, the picture might also need the addition of your professional logo or watermark to ensure that it stays your intellectual property once uploaded over the worldwide web.


