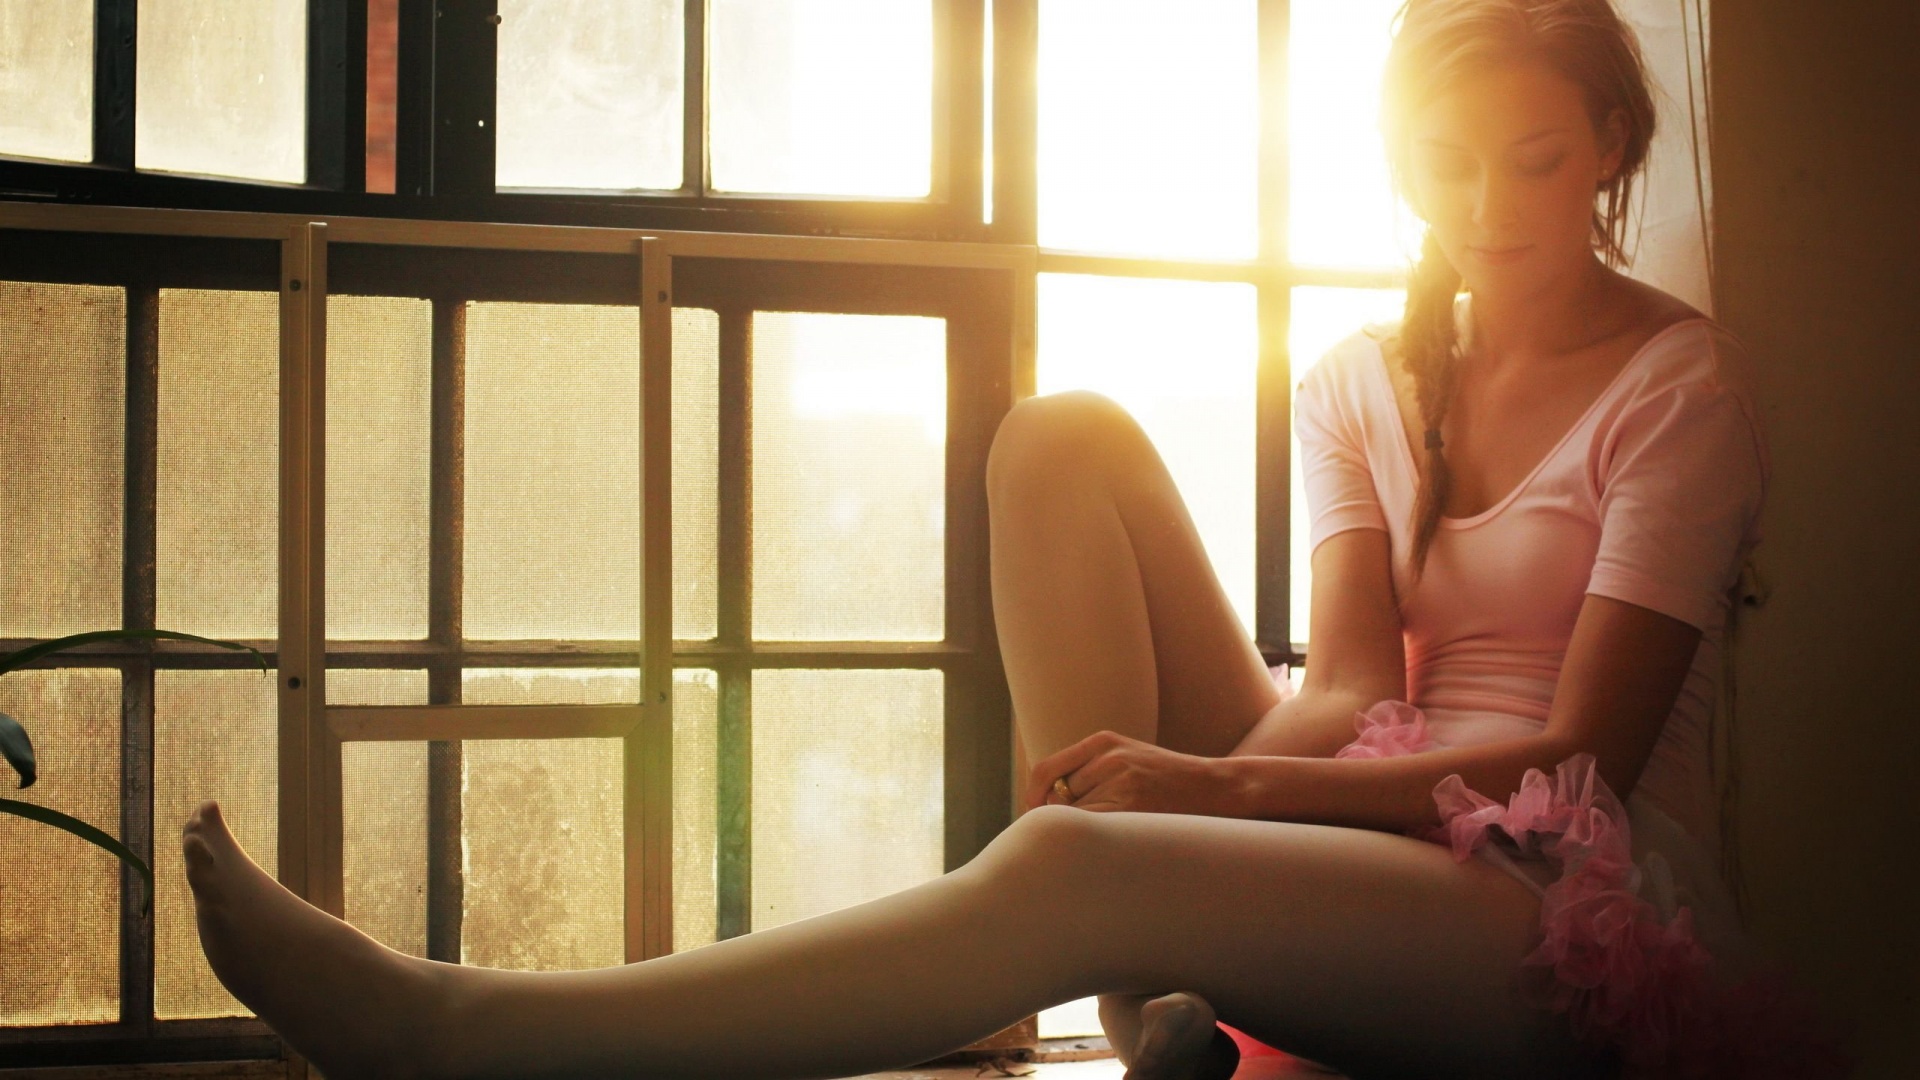
How to Take Window-lit Portraits

When it comes to indoor photography, poor shutter speeds and blurry results are certainly issues that pop up, but lack of light becomes by far the most frustrating problem.
Using window light proves extremely useful in this regard. The window-lit photography has gained massive popularity over the years. The technique is also used to add more punch and class to the picture.
Window light is indeed a blessing when you don’t have access to the studio lights, but setting up for it is not a simple task though. A few preparations are required to utilise the power of sun to take bright and sharp portraits. The window light not only makes the picture look great, but also adds a special effect. If you have not used window light before, there is hardly anything to worry about. With a little practice, you can become a window-lit photography expert.
Instructions
-
1
First of all, identify the location for your portraits. Find a large open window, making sure that a lot of sun light is entering the room.
-
2
Now set your subject right in front of the window, as if you are using the window as a large softbox. Make sure the sun is not hitting the subject directly, as it may make the subject too bright. One can also use a reflector to make the most of window light.
-
3
It is the time to use your creativity. Analyse the entire scenario, and identify the best angle for your photo. You can also use various modifiers to get the outcome of your choice.
A large blanket works as an amazing diffuser. Similarly, the window blinds can be used as scrims. If you are interested in adding various textures or colours to your image, use colourful decorations. -
4
While capturing the image, make sure the aperture is wide, plus the speed of the shutter is fast. These moves will help you take sharp pictures. Meanwhile, keep the depth of the field in mind to ensure that everything is well focussed.
-
5
Another thing that you need to keep in mind is the angle you are using. There are chances that the light is hitting one particular side of the subject. Walk around the subject to see how the light falls from different angles, and determine which angle will be perfect for your portrait.


