How to Use a Canon Scanner to Scan Negatives Using Adobe Photoshop

Adobe and Canon are two completely different companies, however, sometimes they make certain softwares and hardware that complement each other. Same is the case when it comes to scanning film negatives using Canon scanner.
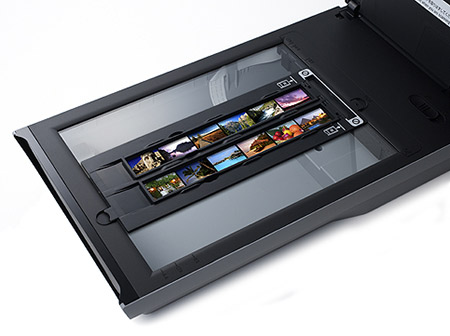
Photoshop has the capability to scan the film negatives, whether they are coloured or black and white, when placed on the negatives section of the scanning glass in the Canon scanner. In order to scan film negatives using Adobe Photoshop and Canon scanner, it is important that you own a Canon scanner with a film guide device and adapting unit installed in it.
Instructions
-
1
First of all, you need to connect your Canon scanner with computer, and install its drivers. If your computer’s operating system installs the drivers automatically, then you can skip step 2 and go to step 3.
-
2
After connecting your Canon scanner with computer, your operating system will detect a new device, and will ask you to insert the driver’s disk into the CD drive, which came with your scanner. Therefore, you should insert the CD in the CD ROM drive and follow the onscreen prompts to complete the driver installation process.
-
3
Once the installation process is complete, you need to open Adobe Photoshop and select “Import” from the “File” menu. Now you can select your Canon scanner from the list of options available in the “Import” window.
-
4
After you are done with importing your scanner in Adobe Photoshop, locate the removable film scanning device on your scanner’s glass scanning bed. You can then place the film negative on the film guide device, before placing the film adapting unit hardware over the negatives.
-
5
Place the negatives in the scanner and open the "Select Source" menu in Adobe Photoshop. If you are scanning coloured negatives, then you need to click the "Colour Negative Film,” or you can select Black and White Negative Film” for black and white negatives.
-
6
Under the “Colour Mode” section, you will have the choice to scan the negatives in black and white or in colours. Here, you can choose to scan the negatives in black and white, even if you are scanning the coloured negatives.
-
7
Now set the output resolution and number of negatives in the scanner, before clicking the "Scan" button to start the scanning process.


