How to Use a Fingerprint Scanner

Over the years, numerous security and personal identification methods have been adapted by hundreds of organisations and individuals around the world. One such method was to scan a person’s fingerprints and match them against a database of fingerprint images in order to establish that individual’s identity.
Using a fingerprint scanner is a simple task. As a matter of fact, after you have used a fingerprint scanner once, you will not find yourself in need of further assistance from a written source or from another person.
Things Required:
– Computer
– Fingerprint Scanner
Instructions
-
1
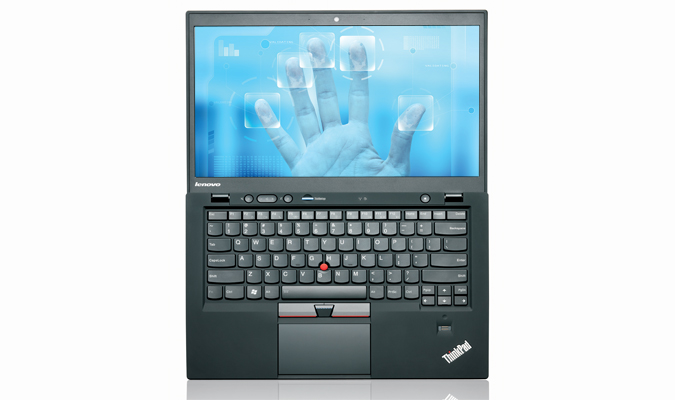
Before you can learn to use a fingerprint scanner, you must have one at your disposal. Visit a local security equipment supply store and purchase a fingerprint scanner. With the advancements in technology, fingerprint scanners have become very handy and fairly inexpensive. The size of a good quality fingerprint scanner is small enough for the scanner to be attached to a laptop for mobile uses. Do some research and then purchase a scanner that best suits your needs.
-
2
You would probably have to install necessary software before the scanner can be used. Follow manufacturer’s instructions to get the scanner up and running.
-
3
Depending on planned use of the fingerprint scanner, set it up at an appropriate location. Moreover, decide if you would want to fix the scanner at a single spot or if you would want to keep it mobile.
-
4
When the scanner has been set up, place your finger(s) onto the scanning plate. Be sure not to move your finger(s) over the plate and keep them as stationary as possible. In a few moments, the scanner will take an image of your fingerprints.
-
5
The image taken by the scanner would be displayed on your computer. If the image is vivid and clear, you can save it to your computer for further use. In the other scenario, you will have to give the scanner another chance.
-
6
Use the saved fingerprint image as desired.


