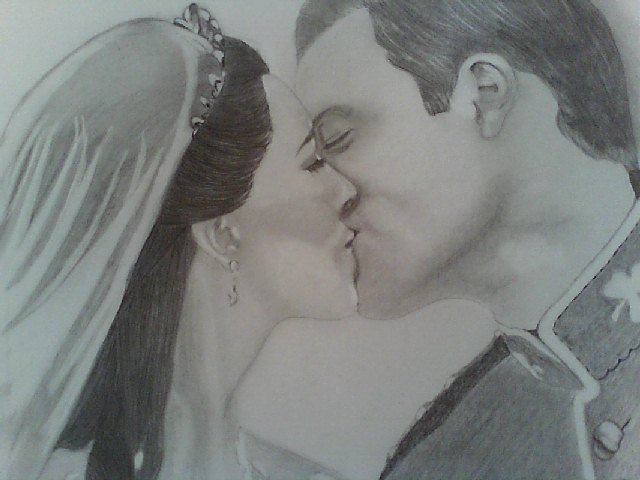
How to Use a Regular Lead Pencil for Shading

Regular pencils are used by kids to write at the young age. They make mistakes due to their immaturity so it is easy to erase anything written by a pencil. However, professional artists especially those that sketch figures use pencils to create an outline as well as the entire colouring of the sketch. There are different types of pencils available with different quality and purpose. There is one kind that is used by the kids at the early age. It doesn’t have to be strong with shading because they have to write with it. However, there is another kind of pencil available for professional sketchers. They use it to create different layer of shading and the outline of the sketch. There is no distinction with the usage of the pencils as they are not defined for different purposes so if you don’t have a professional sketching pencil and you have to draw something with a regular lead pencil, you can do that but you will have to work a bit harder to attain the goal.
Instructions
-
1
Pick the best possible paper available to you so that you don’t have to face the torture of working on a paper that is causing several problems like holding the pencil when it should be released and not printing the sketch at the first shot clearly.
-
2
Find a scratch paper and try different sorts of shades and strokes that will help you get use to the pencil. You will understand the depth of the pencil and know the difference between the professional pencil and the regular lead pencil.
-
3
Sharpen the pencil perfectly before you start the drawing. You shouldn’t use the broken tip because it will not print what you want and you will be frustrated by it. So, save the time and frustration by sharpening your pencil to a point where the tip is smooth as an arrow.
-
4
Start shading the corners at the start. Use different angles to shade with different depth and colour. Try your best to stay smooth and consistent.
-
5
While moving towards the base of the sketch, start shading with a bit more power than you were using for the upper portion of the drawing. You will have to print the borders with more density than the rest of the picture. Shade lighter when you feel like lowering the contrast of the picture.


