How to Use Remote Desktop Connection

The Windows Remote Desktop Connection is a great service that helps you to remotely connect with multiple computers simultaneously over a local network or through the internet. It is certainly a helpful tool, particularly when you want to manage or control your remote computer without getting close to other computers.
If you have a small company where you have to manage various computers in different locations, you can take the help from the Windows Remote Desktop Connection. This article will guide you about the Remote Desktop feature in Windows 7 and Windows XP, so that you can easily connect to each computer on the network.
Instructions
-
1
Enable Remote Desktop in Vista and Windows 7
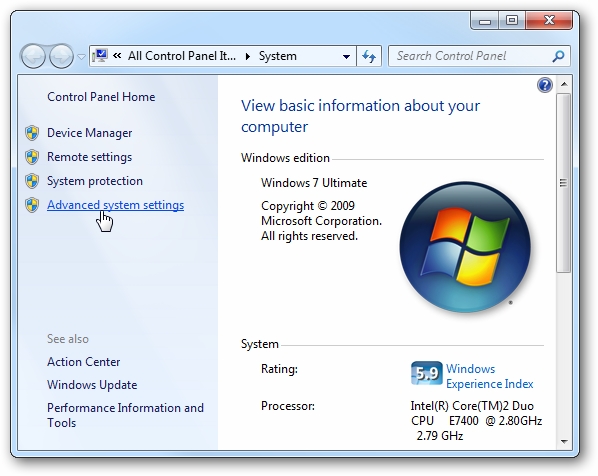
First of all you have to enable Remote Desktop on a Windows 7 or Vista machine. On your Windows desktop, right click on the computer icon or from the Start menu, and select Properties.

-
2
-
3
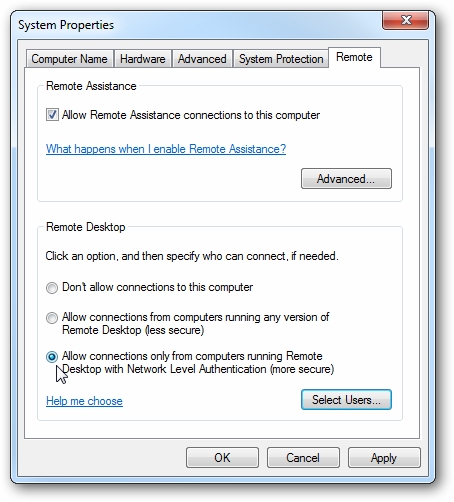
Click on the Remote tab, which is located on the bottom right corner of your window and then select Allow connections only from computers running Remote Desktop with Network Level Authentication (more secure).
-
4
Enable Remote Desktop in XP
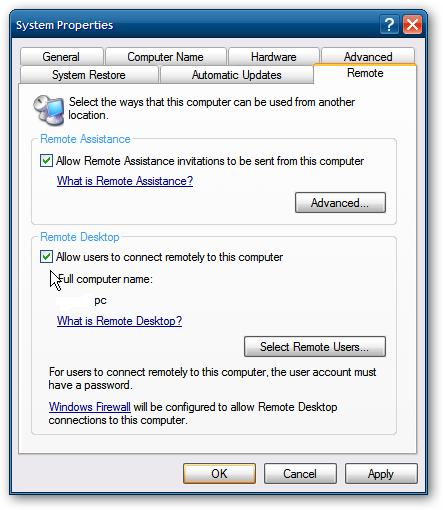
In order to enable XP in Remote Desktop, you have to follow the same procedure. Right-click on My Computer and select Properties. Under the Remote Desktop section, mark check the box next to Allow users to connect remotely to this computer.
-
5
Using Remote Desktop
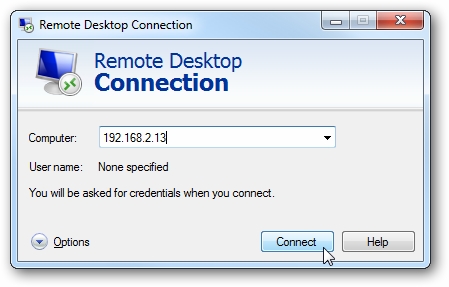
Now if you want to connect to multiple computers in your office or home without getting physically close to it, just remote into them. Open up Remote Desktop and type the name or IP address of the other computer.
-
6
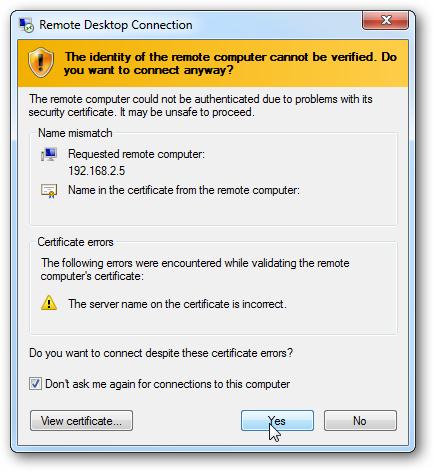
On your first attempt, you probably get a security screen. Simply allow it and select to not show it again.
-
7
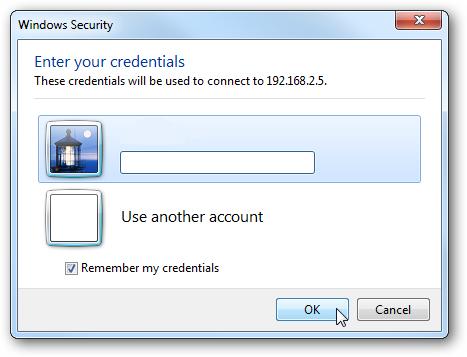
While logging in, you have to provide the name and password before connecting.
-
8
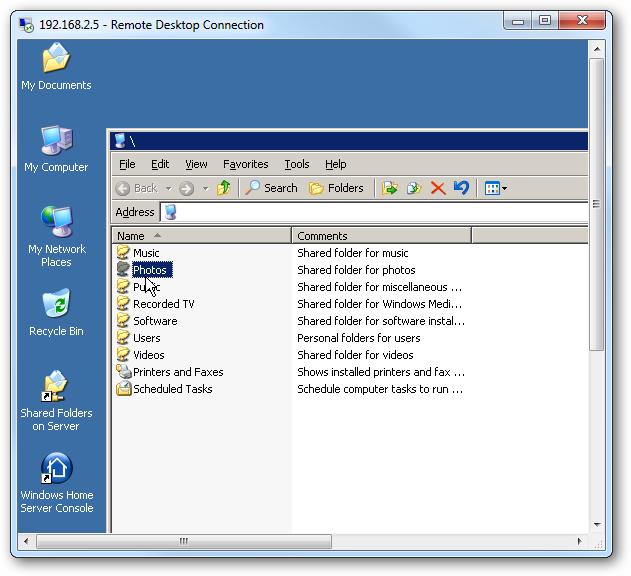
Enjoy working on the Windows Home Server from your desktop computer.
