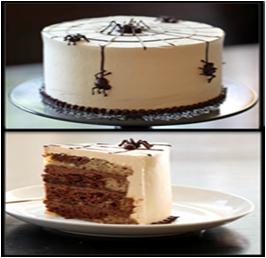
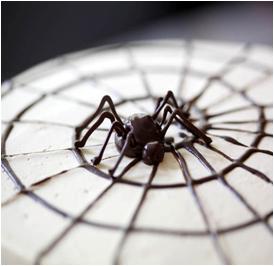
Spider Cake Decoration for Halloween
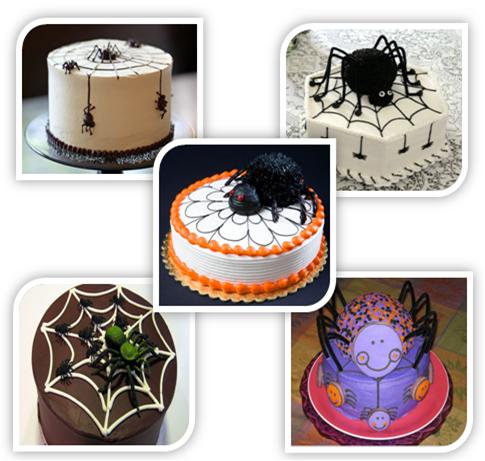
Halloween, also referred as All Hallows’ Eve, is the time of merriment and be just a little spooky and scary. Look the other way this Halloween, forget the unvaried desserts and make an eye-catching and mouthwatering Spider Cake.
Making and decorating a Halloween Spider Cake is not only fun but delicious and scary as well. This flavorful cake is sure to bring a smile to the face of your family members.
Follow this simple guide of step by step to make and decorate your own Spider Cake and add some pleasure to your Halloween Celebrations:
Thing you will need for the Spider Cake Decoration for Halloween:
– Two freshly baked marble cakes
– Chocolate butter cream frosting
– Nutella butter cream – for frosting
– Metal spatulas
– Empty pastry bag
– Knife
– Revolving cake stand
– Butter-chocolate frosting
– Parchment paper or wax paper
– Refrigerator
Instructions
-
1
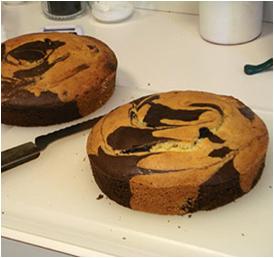
Take two freshly baked marble cakes in order to use them as a base. Cut of the tops of both cake with a large sharp knife in order to get a flat and boxy shape.
-
2
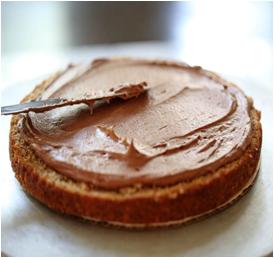
Place the first piece of the marble cake on a revolving cake stand and spread about ¾ cup of fresh chocolate butter cream frosting on its surface, using a flat knife.
-
3
Place the second layer of the cake on the top apply another layer of chocolate butter cream. Repeat this simple procedure with the remaining two layer of marble cake. The chocolate butter cream frosting will act like a glue to stick the four layers of cake together.
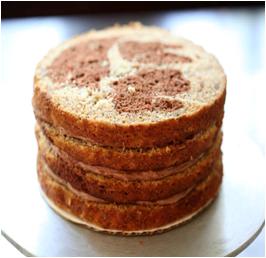
-
4
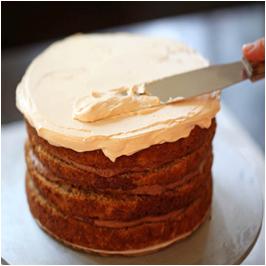
Place 1 cup of the Nutella butter cream at the top of the layered marble cake and spread it with a small off-set metal spatula.
-
5
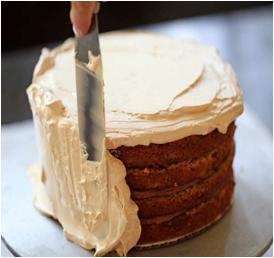
Apply some more Nutella butter cream to the sides of the layered cake, using the same metal spatula.
-
6
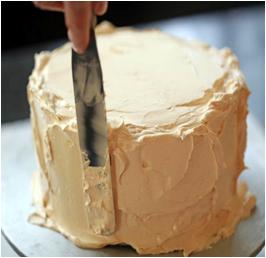
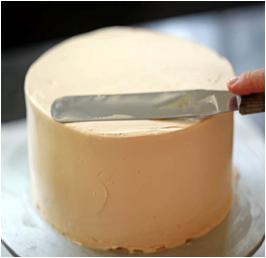
Once you cover the whole cake with the Nutella butter cream, smooth out the top surface of the cake in order to get a neat and even look. Move towards the outer side and smooth it out without twisting your arm in odd angles.
-
7
Continue smoothing until you get the desired look when your cake is nicely flat and even.
-
8
Your cake is all set to get the spider look. First of all make a spider’s web on it in order to give it more natural look.
-
9
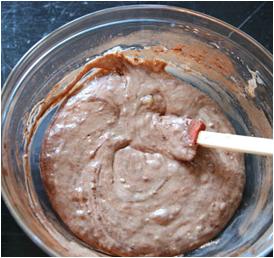
Place 8 tablespoons of unsalted butter and 4 ounces of bittersweet chocolate in a bowl. Shift the mixture into a boiler and wait until both of the ingredients starts melting. Now, whisk them together with a spatula until smooth and thick.
-
10
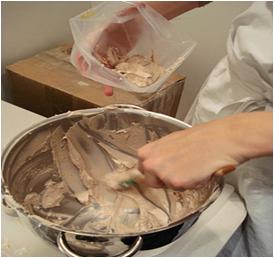
Remove the mixture from boiler and set aside until light warm to handle. Now, add the butter-chocolate frosting into an empty pastry bag and seal it properly.
-
11
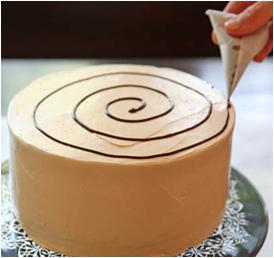
Gently pipe a thin twisting around the cake in order to form base to get the spider’s webs look.
-
12
Grab a toothpick with pointed tip and draw lines right from the center of the recently drawn spiral out to the edge to create the frosted cake.
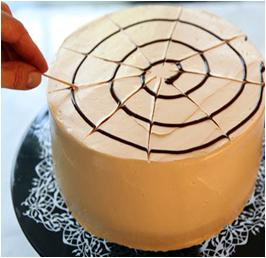
-
13
Use the remaining butter-chocolate frosting in the pastry bag to draw a web’s lines down the sides of the cake. Once you draw lines on the sides of spider cake, simply pipe a smaller spider's body at the end of the lines and add dots to the end of the cake. Leave the cake for some time until the frosting on it dries out thoroughly.
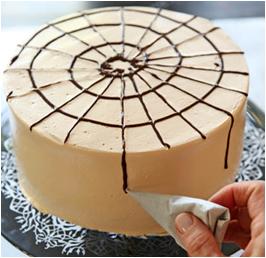
-
14
Now, pipe a large or medium ball of the butter-chocolate frosting at the top of the chocolate in order to create the main spider's body.
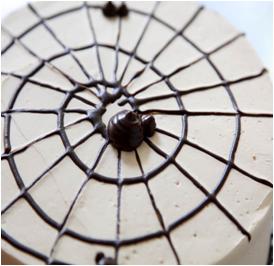
-
15
Fill the pastry bag with some more butter-chocolate frosting and make the main spider’s legs. Line a tray with a parchment paper or wax paper and gently pipe out the butter-chocolate frosting in the shape of number "sevens." Place the tray in your refrigerator and until the legs of the spider are thoroughly chilled.
Note: It is better to pipe out some extra spider legs as a precautionary measure to use them in case you have breakage.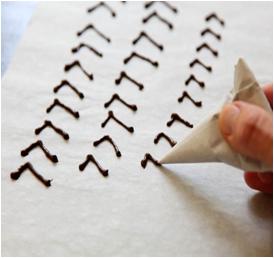
-
16
Remove the spider’s legs from refrigerator once cooled and lift them up with the parchment paper or wax paper with the help of a small spatula. Lift them up one by one and arrange them on both sides of your main spider at the top of the cake, placing four legs on each side.
-
17
Your Halloween Spider Cake is all set to rock; cut it into slices have fun!
